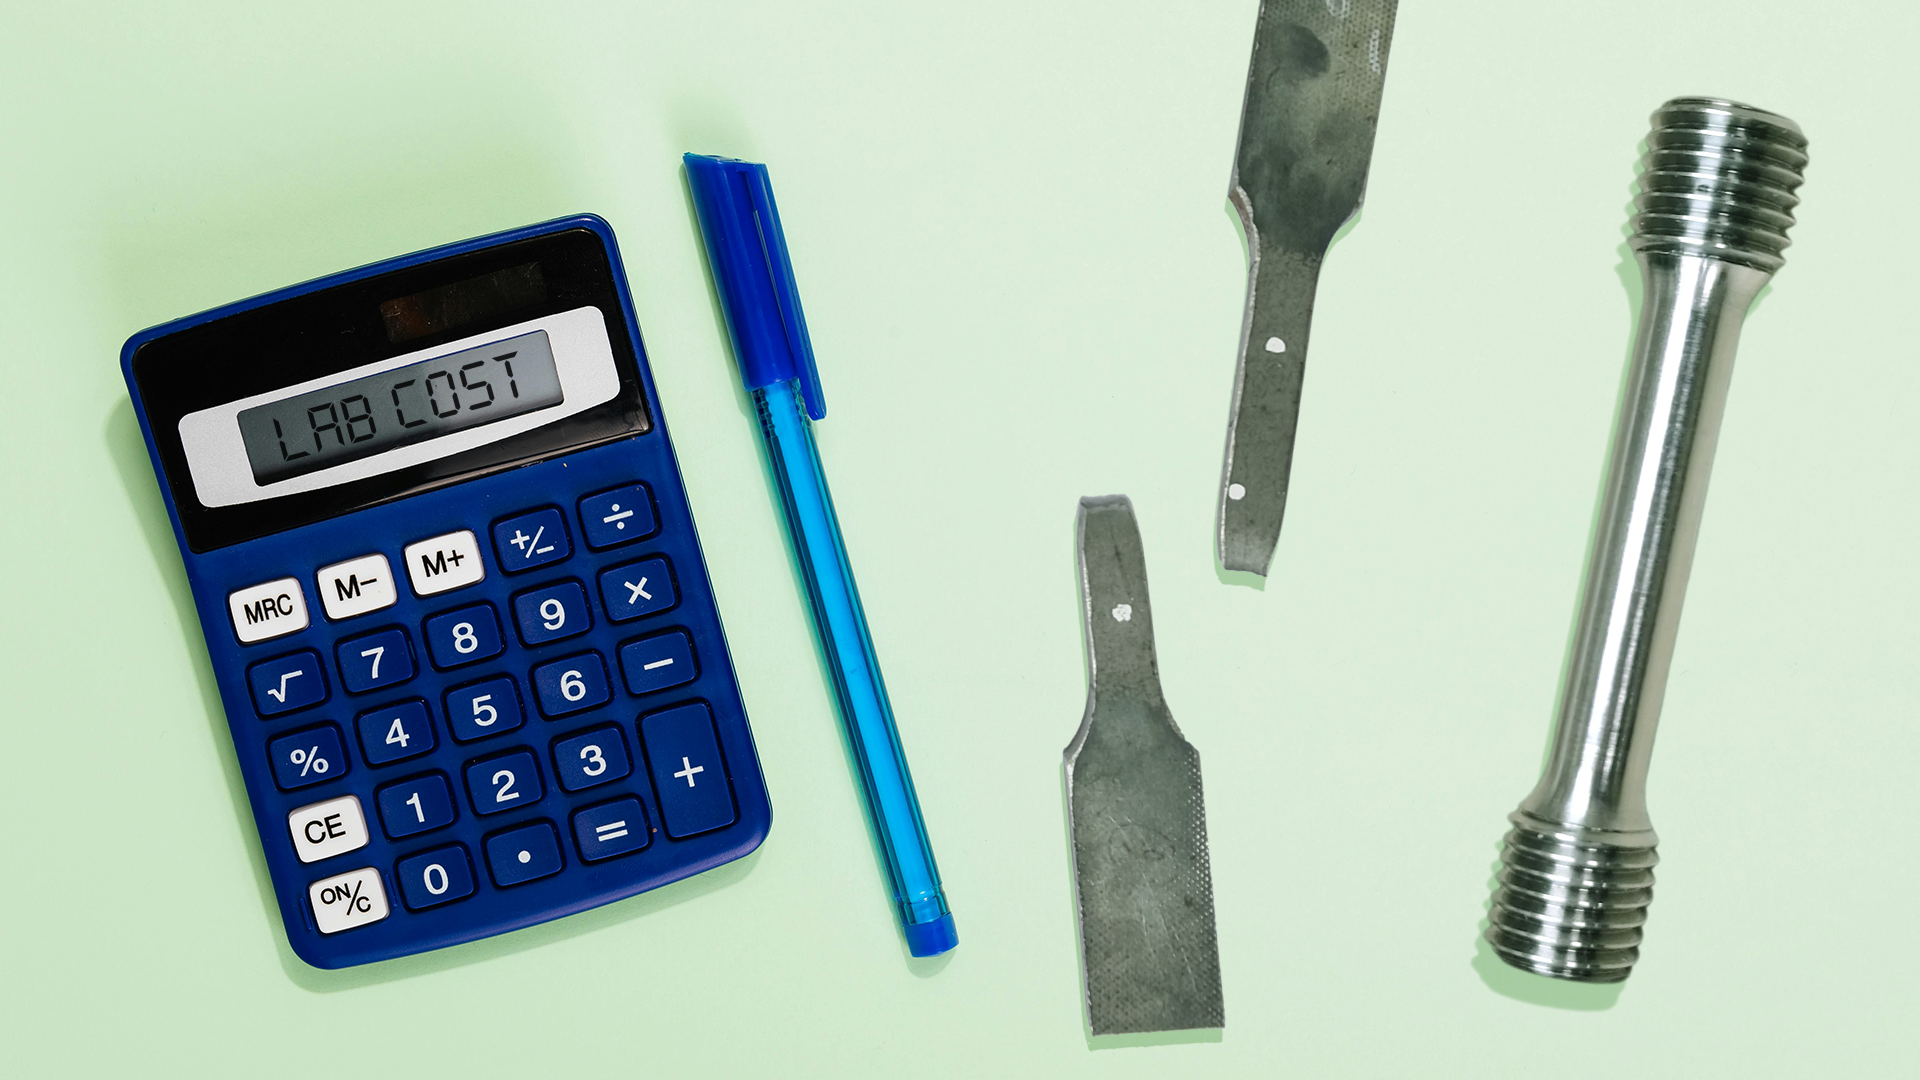
How much does it really cost to build an in-house tensile testing lab?
It’s a question many engineers, QA managers, and manufacturers are asking today. Sending specimens to third-party labs has become routine, but it comes with waiting times, high fees, and less control over results. Each shipment adds delays and administrative overhead, reducing flexibility in your production schedule.
If you are considering whether it makes sense to move tensile testing in-house, this article will guide you through the main costs, challenges, and benefits. We’ll break down the key factors – from equipment and staff to standards, consumables, and accreditation – and show how to calculate the return on your investment. By the end, you’ll have a clear picture of what it takes to set up your own lab and why it can be a smarter long-term choice.
All cost estimates in this article are expressed in US dollars (USD).
What It Takes to Bring Testing In-House
Building an in-house tensile testing lab is not only about buying a machine. It is a structured project that requires people, equipment, space, software, and compliance. Each of these factors comes with its own costs and considerations, and together they create the foundation for a functioning laboratory.
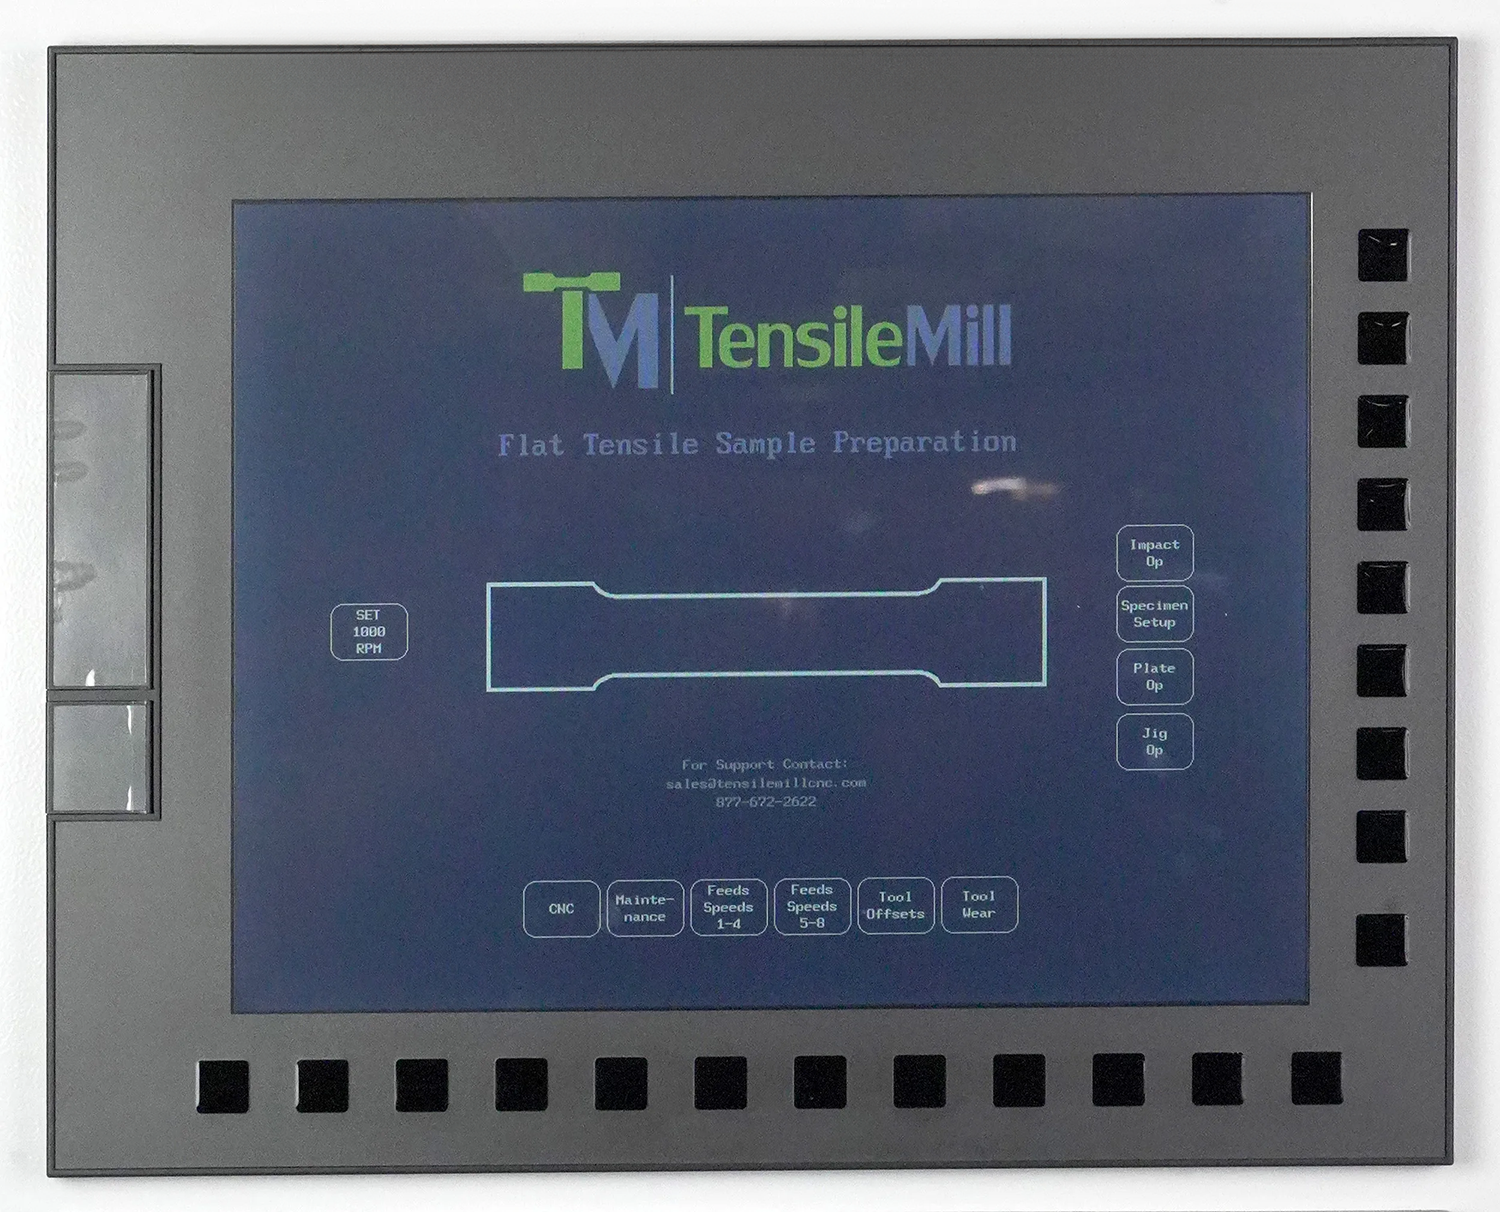
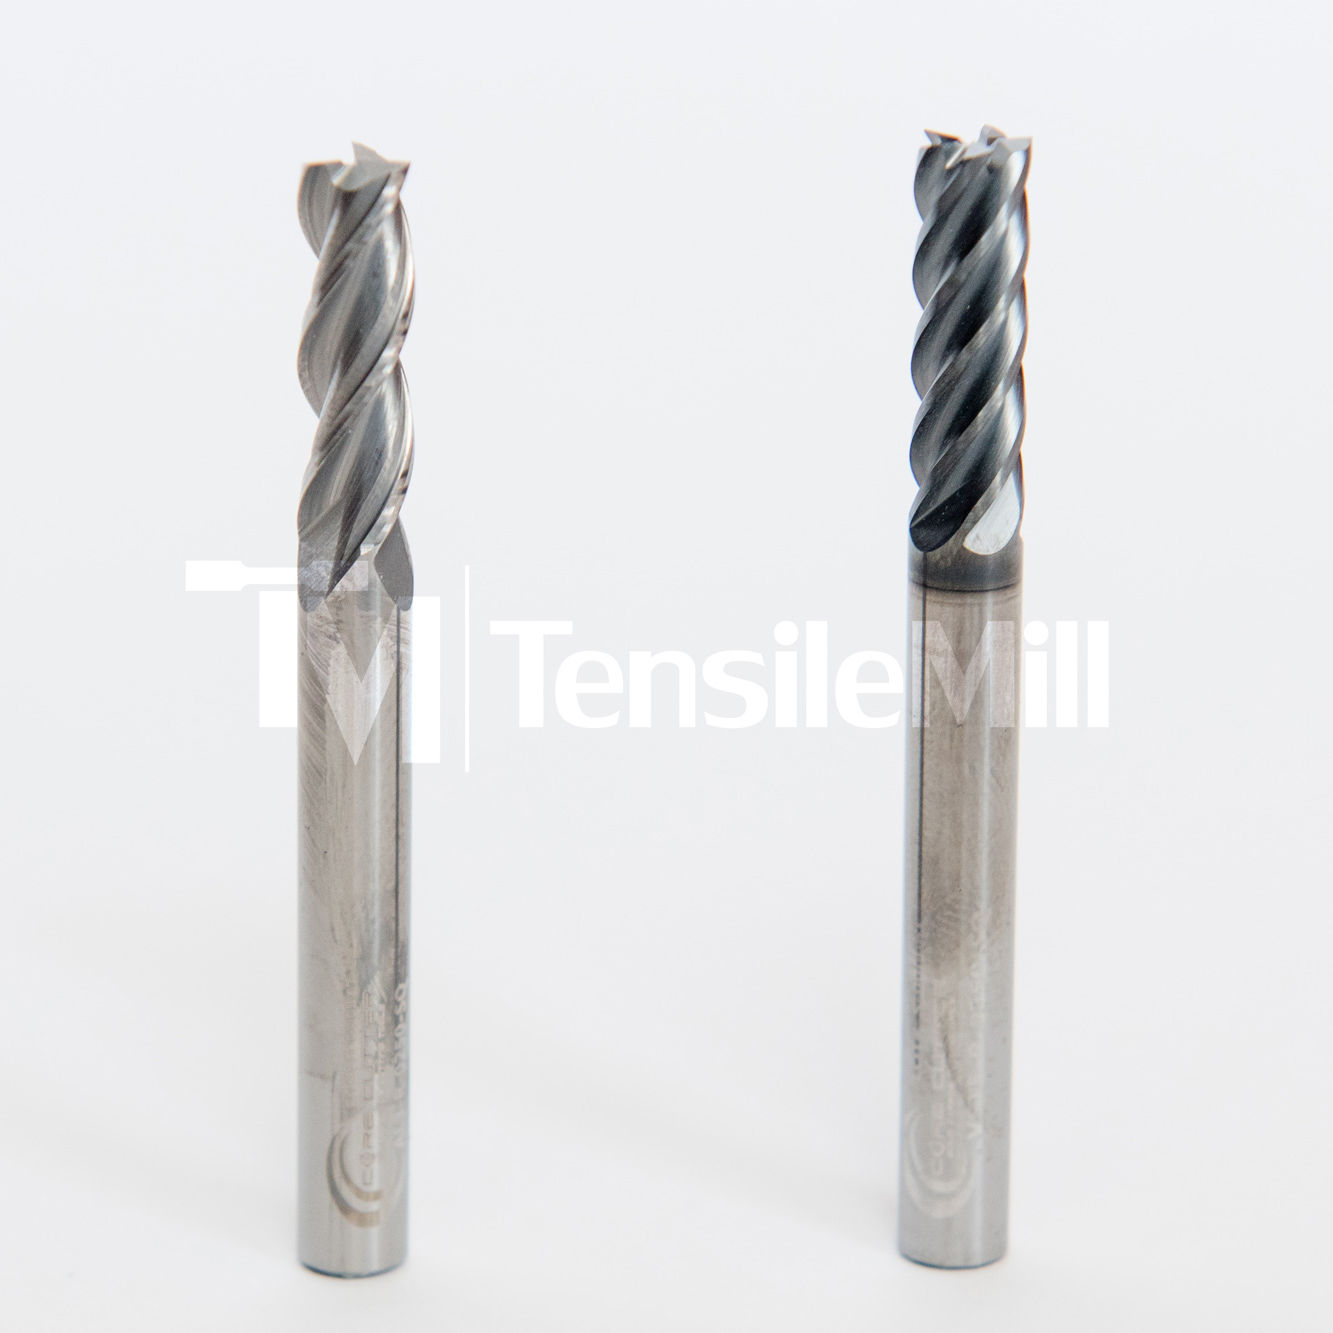
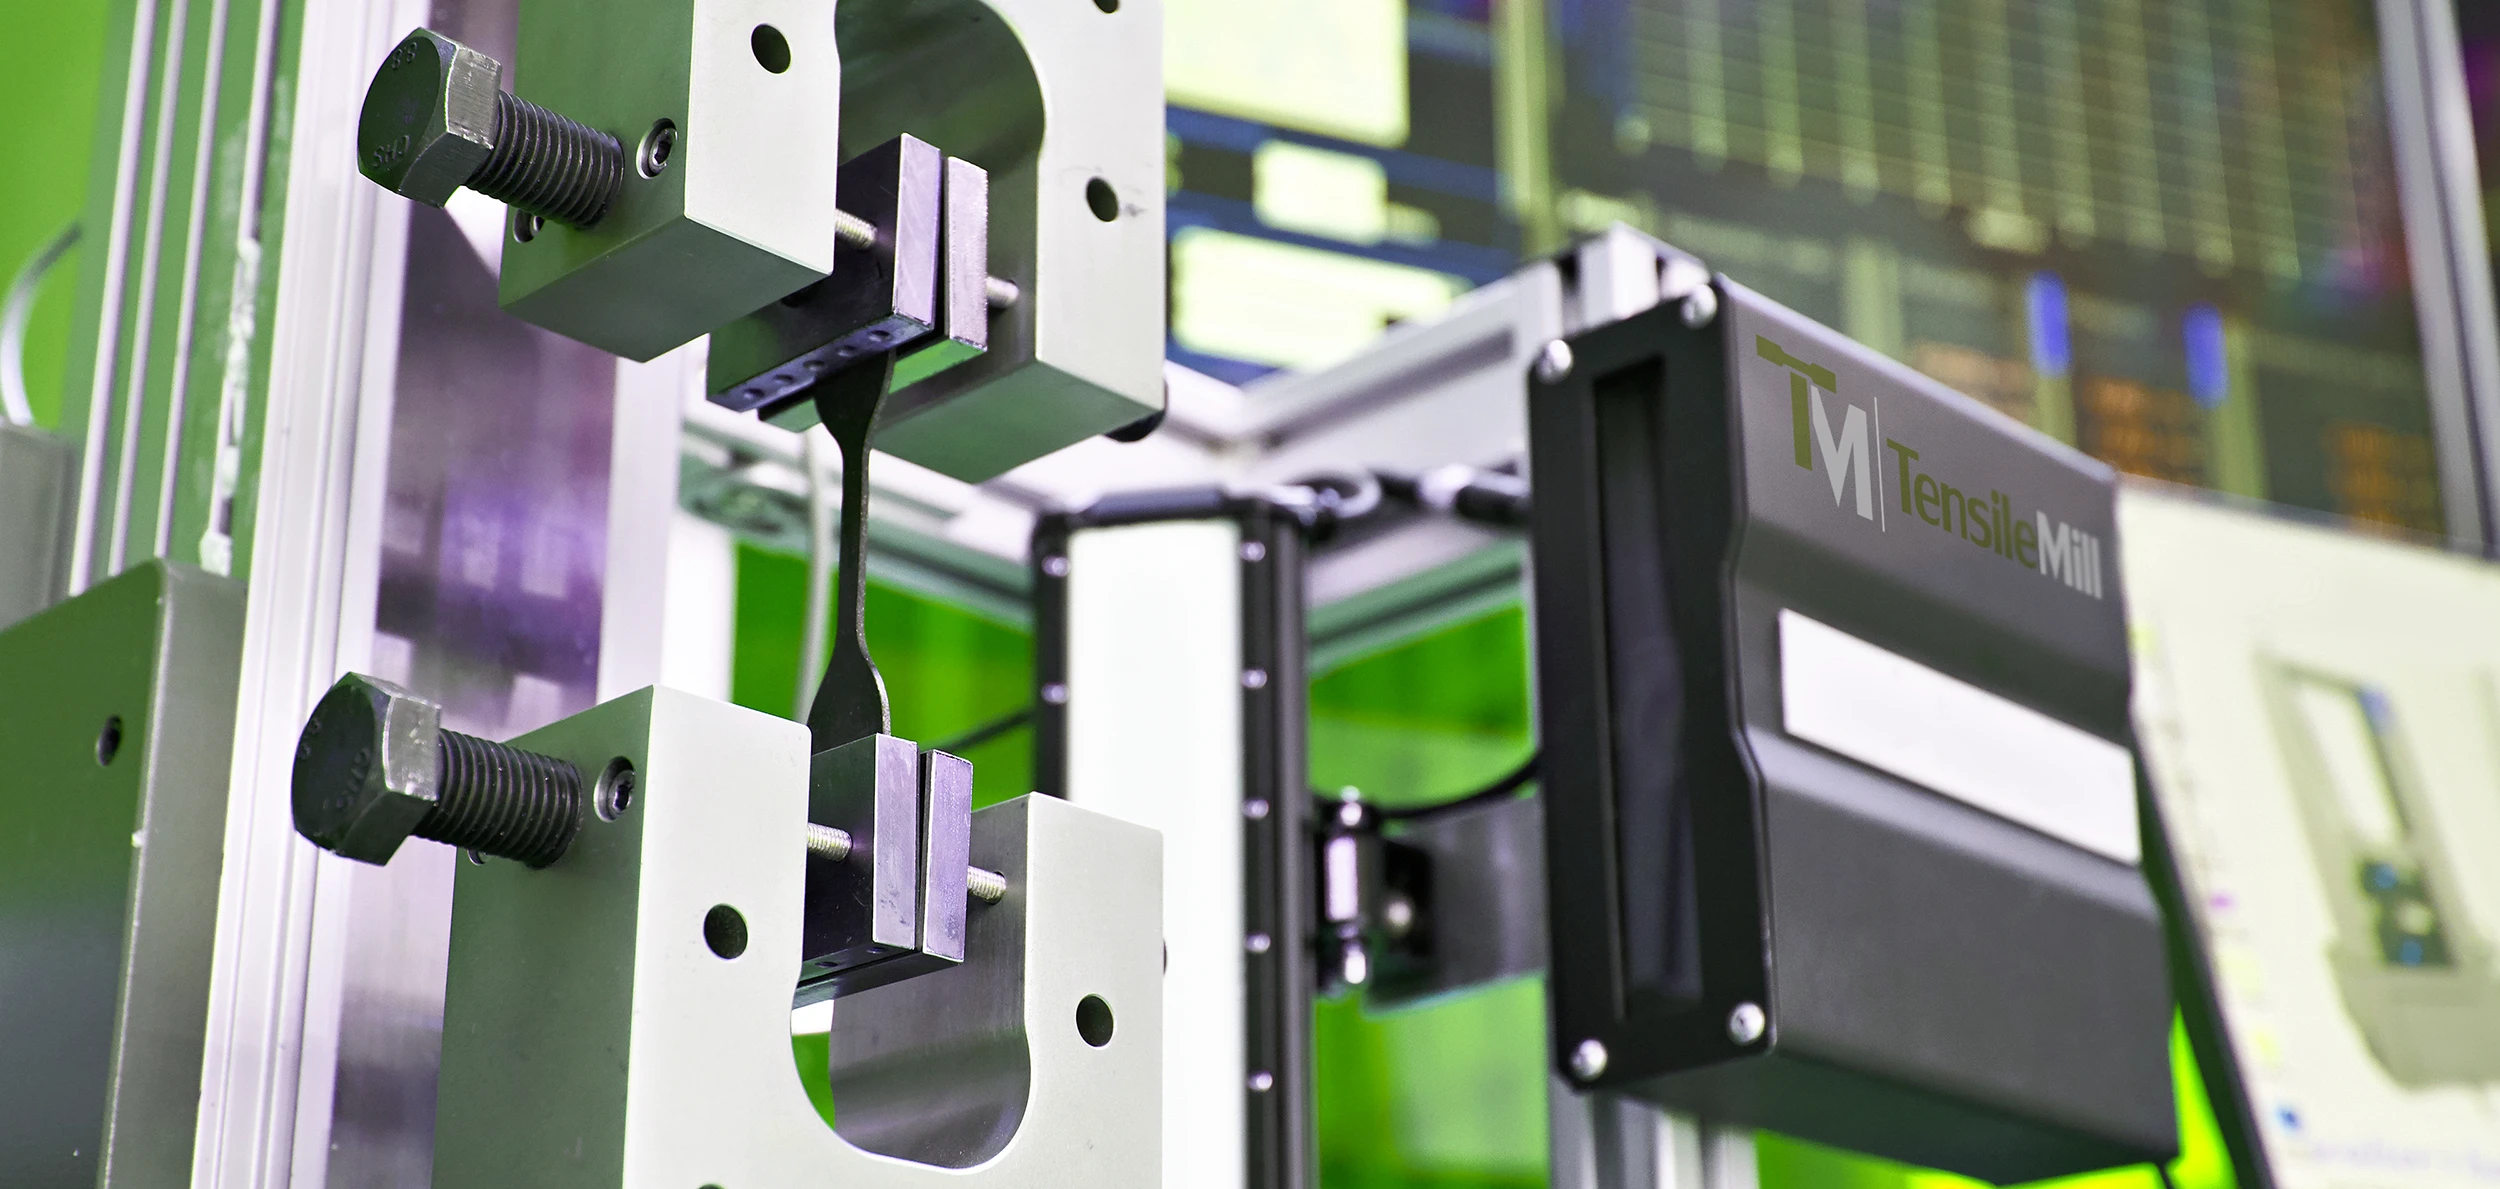
The first factor is equipment. At the center of every tensile lab is a Universal Testing Machine (UTM). This is the system that applies force to specimens and measures their mechanical properties. Around it, you may also need preparation tools for flat or round specimens, such as CNC milling or turning machines, polishing systems, or other accessories. Depending on the materials you work with, the range of equipment can start from essential tools and grow into a full set of advanced solutions.
Second comes the facility. Even the most compact tensile testing systems need dedicated space with the right power supply, flooring, and environmental conditions. Companies usually consider two scenarios: renting a lab space or adapting an existing production area. In both cases, utilities like electricity, HVAC, and basic safety equipment should be included in the cost plan.
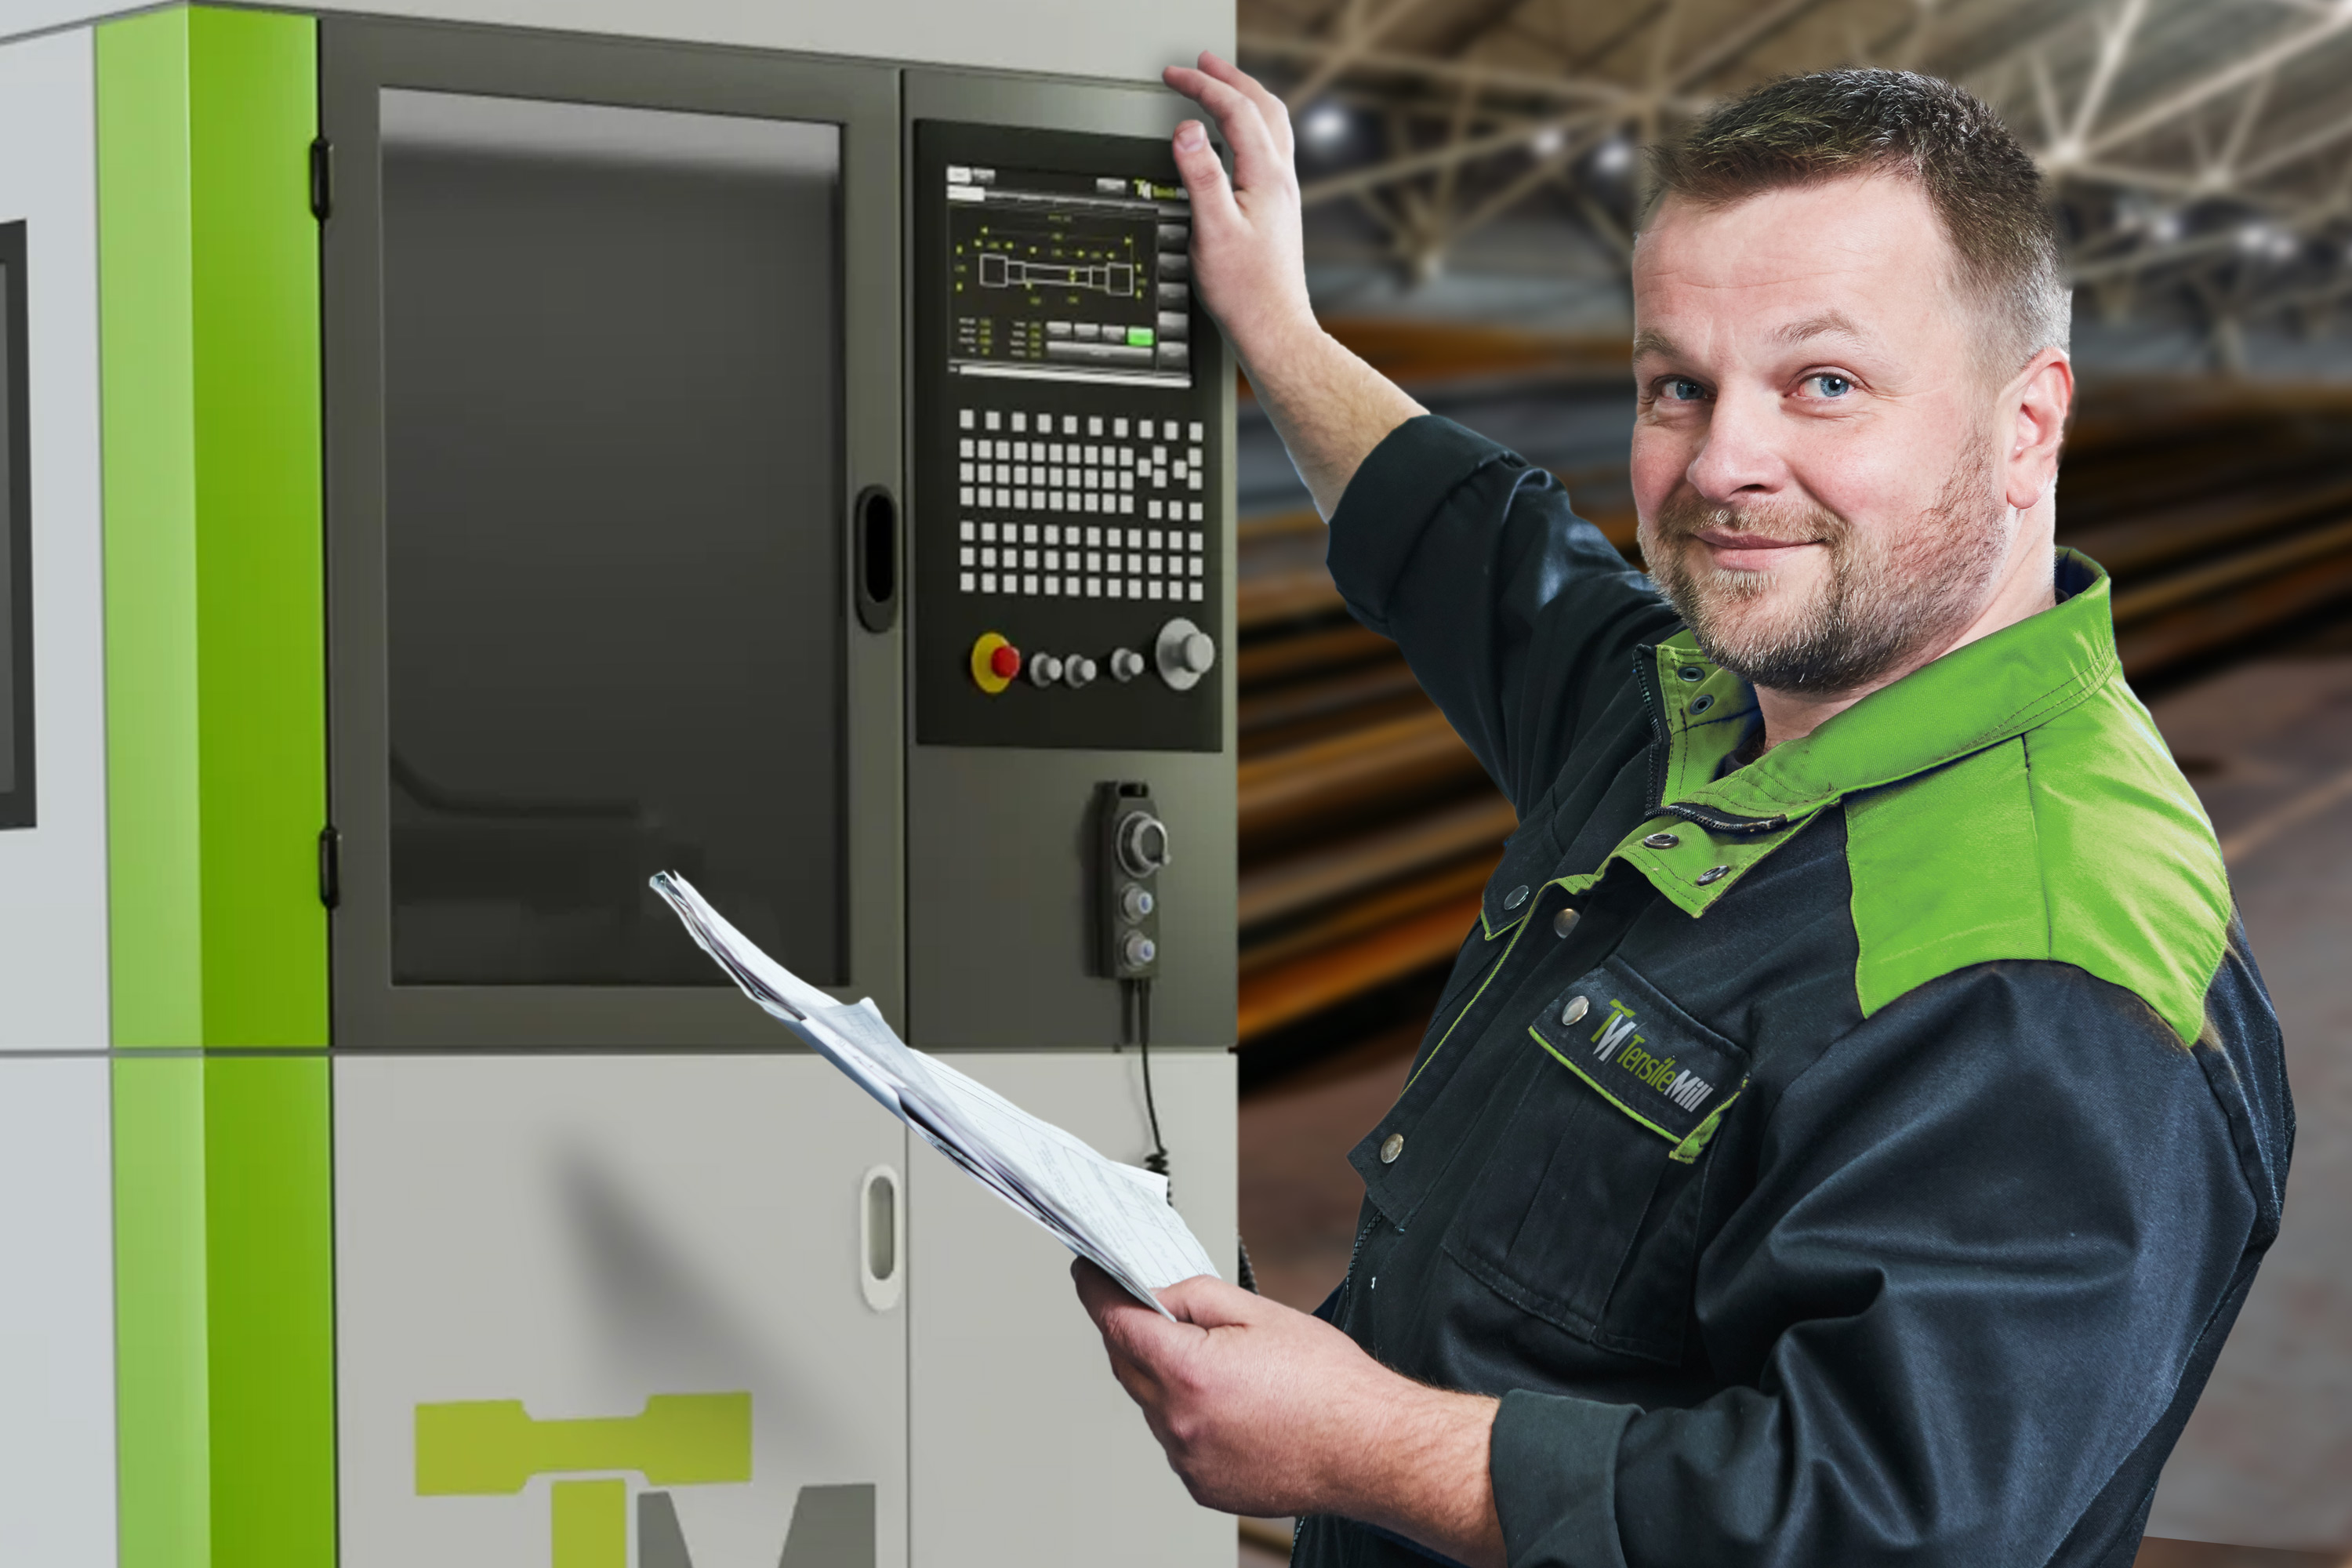
The third major component is people. You will need staff who can prepare specimens, operate the machines, and interpret results. For a mid-sized business, this might mean training existing engineers or QA managers rather than hiring full-time lab technicians. Training is an essential part of the transition, since even experienced staff need time to learn new systems and software.
Next is software and digital tools. Most modern tensile systems are supplied with control and analysis software, but in some cases additional modules or licenses may be needed for advanced reporting. Reliable data management is key, since test results are often used for certification and client documentation.
Another essential aspect is standards and accreditation. Your lab must follow industry guidelines such as ASTM or ISO to ensure test results are valid. In some cases, accreditation like ISO 17025 may be required, and this process brings its own costs and timelines.
Finally, setting up a lab requires time and management support. From ordering and installing equipment to training staff and passing audits, it is not an overnight project. While the initial investment may look high, it usually pays off by reducing outsourcing costs, saving time, and giving you full control over testing.
In the following sections we will break down these factors in detail and add numbers, so you can see exactly what to expect when moving tensile testing in-house.
Big Ticket Items: Equipment & Lab Space
The largest share of your investment in a tensile testing lab goes into equipment and the space it requires. These are the foundation pieces, and their costs vary widely depending on the scale of testing and the level of precision you need.
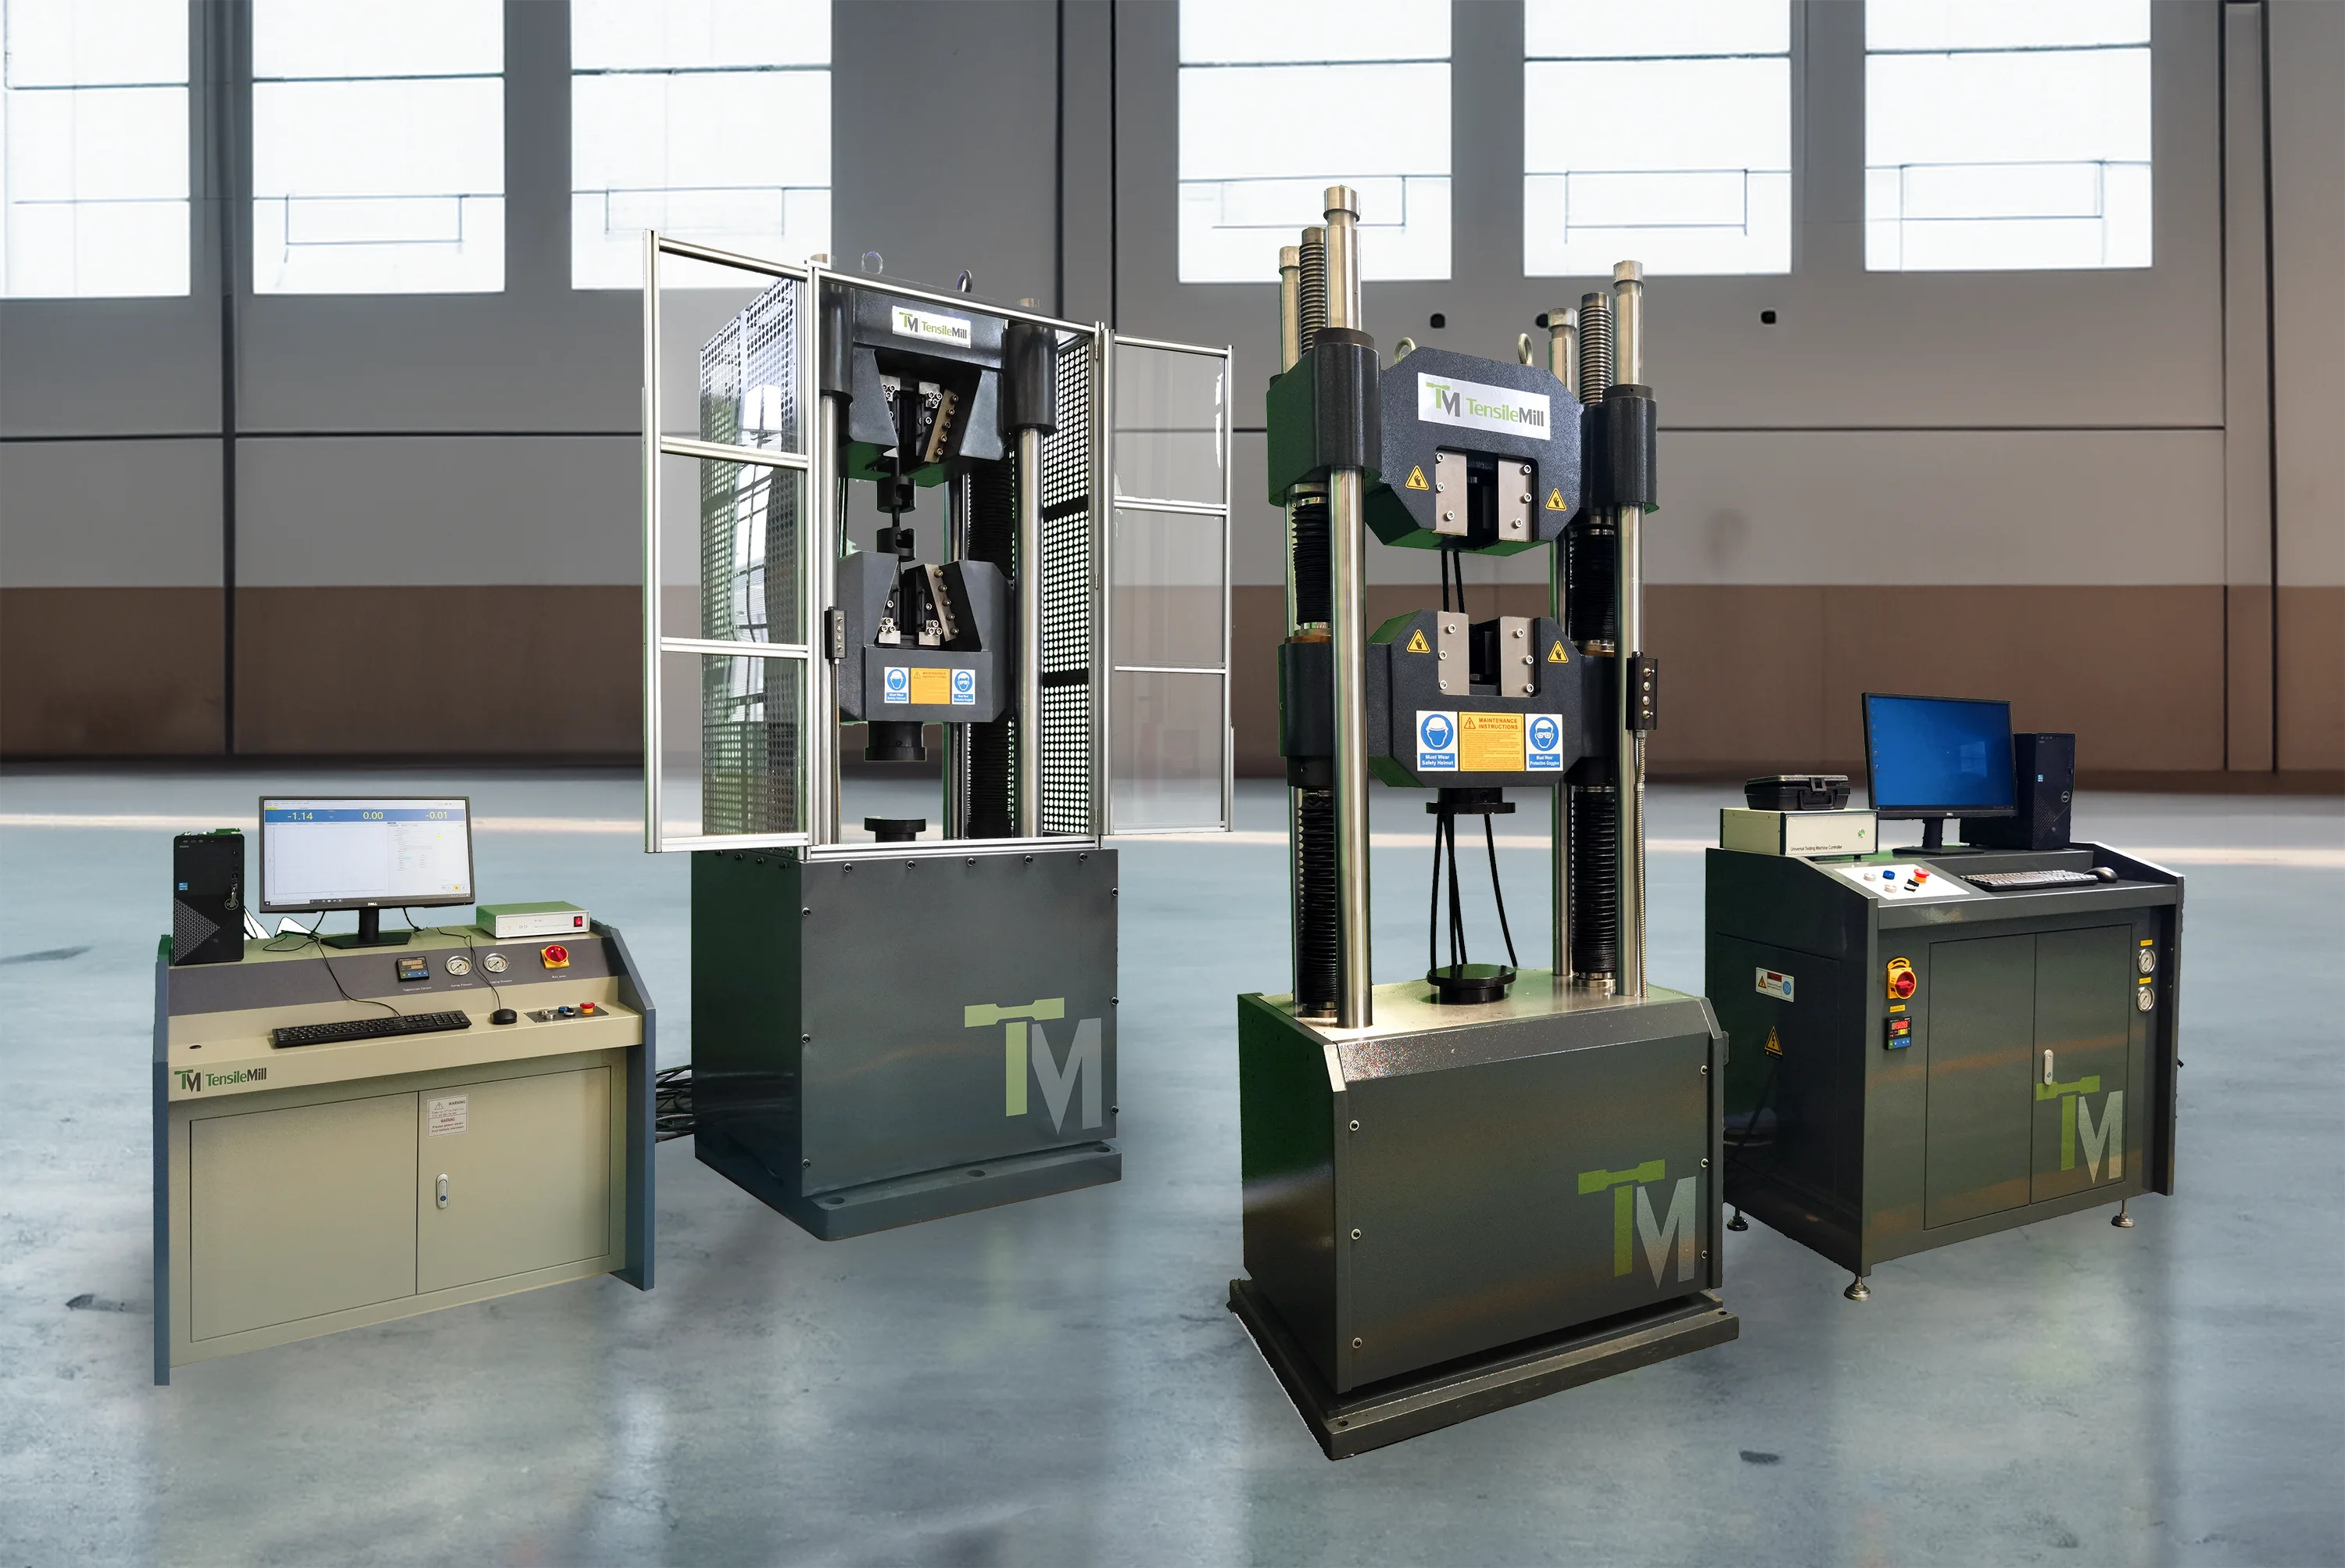
Universal Testing Machines are at the core. Prices range from about $14,000 to $150,000 depending on load capacity, accuracy class, and automation. Compact bench-top models up to 25 kN can be found in the $15,000–$30,000 range, while mid-range machines between 50 and 150 kN suitable for most medium-size companies usually cost $30,000–$80,000. High-capacity floor models rated for 300 kN and above can exceed $100,000. Pricing is primarily influenced by the machine’s load capacity and the level of automation.
Specimen preparation equipment is another key cost. For flat and round specimens, companies often use CNC milling or turning machines. Dedicated compact CNC systems for tensile specimen preparation can cost tens of thousands of dollars, but they pay off quickly if you prepare hundreds of samples per year. If you outsource this step, you can expect to pay $25–$70 per specimen, which adds up fast at higher volumes. Polishing machines, often needed to remove surface defects, typically add several thousand dollars more.
Accessories and tooling are not optional. You will need the right grips for different materials and specimen shapes, and each set can cost several thousand dollars. Extensometers for measuring elongation also vary in price, with optical systems at the high end. Environmental chambers for testing at extreme temperatures are available but usually cost tens of thousands and are only needed for specialized work.
Lab space also comes at a cost. Renting a suitable space in an industrial zone in the US can range from $20 to $50 per square foot per year. Building new space can easily reach $200–$400 per square foot. On top of that are utilities: electricity, HVAC, and reinforced flooring if you plan to install heavy machines. A three-phase electrical line may also be required for larger hydraulic UTMs.
Installation and calibration should not be overlooked. Many suppliers include shipping, setup, and basic calibration in the purchase price, but not all. Heavy equipment delivery can cost $500–$2,500, and rigging fees may apply if the lab is not easily accessible. Initial calibration is often included, but annual recalibration is mandatory and typically costs several thousand dollars per year.
When you add up all these factors, the machine itself may represent only 50–70 percent of your equipment budget. The rest comes from accessories, lab preparation, calibration, and upkeep. Careful planning at this stage prevents hidden costs from surprising you later.
People Power & Training
No tensile testing lab can function without skilled people. The question is whether you need to hire new staff or train the team you already have. For most medium-size companies, the practical approach is to assign an engineer, technician, or QA manager who can take responsibility for the lab while balancing other duties.
Staff costs are one of the first items to consider. Salaries for a qualified technician or quality engineer in the US typically range from $30,000 to $50,000 per year, depending on region and industry. If your testing workload does not require a full-time position, you can allocate part of an existing employee’s time to lab duties. In that case, include only the percentage of their time that will realistically be spent on testing in your cost model.
Training is another essential factor. Learning curves are unavoidable, and productivity in the first few months may be lower as staff adapt to new systems. The good news is that most suppliers include basic training with equipment delivery. This usually covers installation, setup, and an introduction to machine operation, often taking a full day. Beyond this, optional advanced training may be available, either through the vendor for an extra fee or internally if you develop expertise in-house. Training time is valuable, and during the first few months, productivity may be lower as staff get familiar with the systems.
Technical leadership can help streamline the process. Appointing a lead person to act as the link between your lab and the equipment supplier ensures faster troubleshooting and smoother communication. This role is not necessarily an extra salary, but it adds efficiency and helps avoid costly mistakes.
Safety and procedures must also be part of training. Staff should learn to follow proper methods, use protective screens and eyewear when needed, and operate the equipment according to ASTM or ISO standards. A poorly executed test is wasted time and money, so consistent training on procedures is as important as learning to use the machine itself.
In short, staffing your lab is about more than paying salaries. It is about planning for a learning curve, providing training and safety knowledge, and making sure the right people are responsible for the work. Companies that underestimate this step often face delays, errors, or repeat testing — all of which reduce the return on investment.
Software, Standards & Accreditation
Beyond equipment and staff, every tensile lab depends on software and compliance systems. These elements ensure that tests run smoothly, results are valid, and reports are trusted both internally and by clients.
Software is usually included with a Universal Testing Machine, covering setup, test execution, and basic reporting. For routine tensile testing this is enough, but advanced features—such as statistical modules, custom formulas, or licenses for multiple users—may require extra investment. Annual subscriptions or upgrade fees can add several thousand dollars to the budget. If you need integration with ERP or LIMS systems, expect additional IT costs for setup and customization. In practice, software costs are lower than equipment but still significant for long-term efficiency.
Standards form the backbone of any testing program. Without them, results risk being dismissed by auditors or clients. For tensile testing, the most common are ASTM E8 and ISO 6892, which define specimen preparation and test procedures for metals. Calibration of machines is typically governed by ASTM E4. Adhering to these standards is not optional—it guarantees that your reports hold weight in quality audits and contractual agreements.
Accreditation is the next step if you want official recognition of your lab’s competence. ISO/IEC 17025 is the most widely used framework, confirming that your results are traceable and globally accepted. Initial accreditation often costs $10,000–$20,000, plus annual renewal fees, and the preparation process can take 6–18 months. For aerospace and defense companies, NADCAP accreditation may be mandatory. It is more demanding than ISO 17025 and can require tens of thousands of dollars in audits and compliance work. These investments are substantial, but they are often the key to entering high-value supply chains.
Consumables, Calibration & Upkeep
Once a tensile testing lab is operational, the focus shifts from one-time investments to recurring expenses that keep the system accurate and compliant. These ongoing costs are often underestimated but can make a significant difference in the long-term budget.
Consumables are the most obvious category. Tools used in specimen preparation—such as cutting blades, milling bits, and polishing pads—require replacement as they wear down. Fluids and lubricants for CNC equipment also fall into this group. While costs vary with workload, consumables represent a steady yearly expense that must be planned into the budget.
Grips and fixtures are another expense. Although most UTMs ship with a standard set, different materials and specimen geometries often require specialized fixtures. Wedge, screw, and hydraulic grips can cost several thousand dollars per set, and over time their surfaces wear out and need replacement. Extensometer tips, knife edges, and similar small components are consumables too, adding to ongoing costs.
Calibration is a non-negotiable item. Machines must be recalibrated at regular intervals—typically once per year, sometimes more often in industries with strict compliance requirements. The first calibration is usually included at delivery, but follow-up recalibration requires budget planning. Independent calibration services can be significantly cheaper than manufacturer services, but in either case, the cost usually runs into a few thousand dollars per visit. Skipping calibration risks inaccurate data, failed audits, or rejected product batches, so it cannot be ignored.
Routine maintenance is lighter but essential. Daily or weekly cleaning of debris, lubrication of moving parts, and inspection of grips are usually handled internally. Still, parts wear down: grips lose their texture, extensometer tips dull, and replacement becomes necessary. While each item is not expensive on its own, they add up over time. Some manufacturers offer extended service contracts, which may simplify planning but increase annual expenses.
In total, most mid-sized labs spend $5,000 to $15,000 per year on consumables, calibration, and upkeep. This figure does not include utilities or rent but covers the core ongoing needs of a tensile testing lab. Properly accounting for these recurring costs ensures stable performance and prevents costly downtime.
Time & Logistics: Why In-House Pays Back
One of the most overlooked advantages of moving tensile testing in-house is time. Outsourced labs typically deliver results in 10–20 business days, depending on workload and shipping. During that period, materials sit idle, projects slow down, and production schedules risk falling behind. By contrast, an in-house tensile lab can usually process samples within 1–2 days, cutting turnaround time by more than 80 percent.

The time savings quickly translate into financial benefits. Materials waiting for third-party results tie up working capital. For example, if a $200,000 batch of material is delayed by just one week, the opportunity cost alone can run into tens of thousands of dollars per year when multiplied across projects. Faster results also mean faster problem-solving—if a quality issue arises, your team can test, analyze, and correct within days instead of weeks.
Logistics costs add another layer. Outsourcing requires packaging, labeling, and shipping specimens to external labs. While the direct expense of courier services may not seem large—often $50 to $200 per shipment—the cumulative effect is significant over dozens or hundreds of tests per year. More importantly, every shipment carries risk: samples can be lost, damaged, or delayed in transit, which forces repeat preparation and further extends turnaround time.
In-house testing eliminates these risks. Samples move directly from production or R&D into the lab without delays or external handling. The result is tighter control, faster decision-making, and more reliable scheduling. For manufacturers working in competitive markets, this speed and efficiency often matter just as much as cost savings.
Ultimately, while equipment and staff represent the visible investment, time and logistics are where companies often realize the hidden return. Shorter turnaround, lower risks, and more flexibility are advantages that compound year after year, making in-house testing not only a technical upgrade but also a strategic business move.
Crunching the Numbers: Costs vs Outsourcing
After looking at equipment, people, and ongoing expenses, the key question remains: does an in-house tensile testing lab actually pay off compared to outsourcing? The answer depends on your testing volume, but in most cases the numbers speak for themselves.
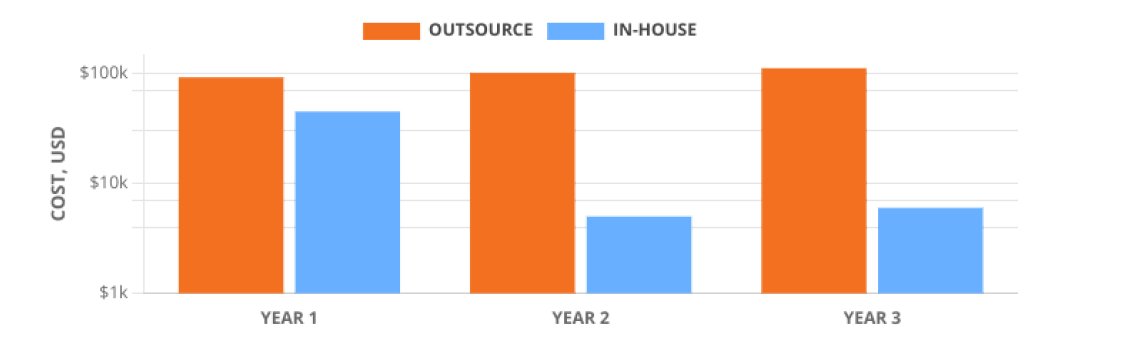
Let’s take a simplified 3-year comparison. Suppose your company currently outsources 1,000 tensile tests per year at $100 per test. That adds up to about $100,000 annually, or $300,000 over three years. On top of that come hidden costs: shipping, delays, and tied-up material waiting in queue. Those can easily add tens of thousands of dollars more each year.
Now compare this to an internal lab. The initial investment in equipment might be $50,000, with additional costs for accessories and setup bringing the total to, say, $70,000. Spread over a 5–7 year lifespan, that’s about $10,000 per year in amortization. Add $20,000 for partial staff time, $5,000 for calibration and maintenance, and $3,000 for overhead. The yearly cost comes out to around $38,000. At 1,000 tests per year, that’s roughly $38 per test—less than half the outsourced price.
The return on investment usually appears within 2–4 years. For some companies, especially those running frequent quality checks or R&D projects, payback can happen even faster. The breakeven point often falls around 350–400 tests per year. Below that, outsourcing may remain cheaper. Above it, the in-house lab steadily becomes the more cost-effective option.
Financial savings are only part of the story. Faster turnaround and tighter control add value that doesn’t show up directly in spreadsheets. In-house testing reduces delays, avoids shipping risks, and allows your team to react quickly to quality concerns. For industries where time-to-market and compliance are critical, those advantages can outweigh pure cost savings.
ROI Calculator For Tensile Testing Labs
Calculating the return on investment for an in-house tensile testing lab can feel overwhelming. Equipment, staff, consumables, calibration, and facility costs all add up, and putting them into a clear comparison against outsourcing is not always simple. To make this process easier, a dedicated ROI calculator is available that brings all these factors together in one place.
The calculator helps you evaluate whether setting up a lab makes financial sense for your business. By entering basic details such as region, specimen type, and testing scope, the tool generates a cost breakdown that compares outsourcing with operating your own lab. The output shows not only the estimated cost per test but also the payback period and the point where internal testing becomes more cost effective.
This tool is designed for engineers, QA managers, and decision makers who need reliable numbers to support strategic planning. Instead of spending hours on manual spreadsheets, the calculator provides immediate clarity. It turns complex variables into practical results that can guide long-term investment decisions.
At the end of the process, the tool delivers a detailed PDF report. It includes the assumptions entered, the financial projections for both outsourcing and in-house testing, and the estimated net savings over a three-year horizon. It also outlines additional considerations such as training, maintenance, and risk mitigation strategies. The report is structured for direct use in internal discussions or management presentations, making it not only a calculation but also a ready-to-use business case.
Quick Checklist Does It Make Sense For You
Before investing in an in-house tensile testing lab, it helps to pause and ask the right questions. This quick checklist is designed to guide decision makers through the most important considerations:
- Do you run enough tensile tests each year to justify the investment?
- Are current outsourcing delays slowing down your production or product launches?
- Would having faster access to test data improve your decision making or customer confidence?
- Do your clients or industry regulations require compliance or accreditation that you could achieve in-house?
- Can you allocate skilled staff and space to operate and maintain the lab effectively?
- Have you budgeted not only for equipment but also for training, consumables, calibration, and upkeep?
If you answered “yes” to most of these, an in-house lab may be the right move. If not, outsourcing or a hybrid model may still provide the flexibility you need without the upfront investment.
Common Pitfalls And How To Avoid Them
Launching a material testing lab is complex, and many companies stumble on avoidable hurdles. One frequent error is jumping into equipment purchases without a solid plan or long-term vision. Investing in top-tier machinery without enough tests to run can leave valuable resources idle. A clearer approach starts with an ROI assessment and realistic workload projections. Do not buy expecting future demand that may never materialize.
A frequent oversight is underestimating secondary costs. Equipment price is never the whole story. Setup, calibration, training, lab modifications, even small details like cables or cleaning services, all contribute to the final budget. A detailed launch checklist helps capture these hidden expenses and prevents unpleasant surprises.
Underestimating the human factor is common as well. Relying on staff to “pick it up as they go” often leads to misuse, inconsistent methods, and flawed results. Quality testing demands proper training, including standards such as ASTM and ISO. Investing time early in onboarding and documentation pays dividends in data reliability.
Calibration and maintenance must not be sidelined. Failing to schedule regular checks is like driving blind. Results slowly drift, and eventually produce data you cannot trust. A fixed calibration schedule, service logs, and preventive maintenance reduce risks and extend machine life.
Without documented procedures, consistency is lost. If each technician runs tests differently, results become incomparable, audits are difficult, and lab credibility fades. Standardize your protocols for everything from sample preparation to termination criteria, and base them on recognized standards.
Another common mistake is pushing equipment beyond its limits. Using an undersized machine for high-strength materials or trying to adapt it for unrelated tests risks damage and data errors. Define the scope of your lab clearly and upgrade deliberately when the need arises.
Safety is also often treated as an afterthought. Tensile tests can release fragments at failure. Without protective screens, interlocks, or clear rules, operator safety is compromised. Build safety into the lab design and make it part of daily practice.
Accreditation is another overlooked element. It is not just a certificate but a process that requires time and resources. ISO/IEC 17025 is often the benchmark, and many clients will not accept results from a lab without it. Until accreditation is complete, companies may need to continue external testing for critical batches.
These pitfalls are not limited to tensile testing. They occur in many types of materials labs. A good strategy is to work with a small number of trusted partners who cover equipment, calibration, and accreditation. This approach builds consistency, simplifies communication, and avoids errors that come from dealing with too many vendors at once.
Why An In-House Lab Can Be A Strategic Advantage
Setting up an in-house tensile testing lab requires careful planning, investment, and commitment, but the potential payoff is significant. Companies that make this move gain greater control over their testing process, shorten turnaround times, and reduce reliance on external providers.
The financial aspect is often the first concern, but cost is only part of the picture. An internal lab gives you the ability to react quickly to production needs, ensure consistent compliance with standards, and improve the reliability of your data. These advantages directly affect product quality and customer confidence, which are difficult to measure in dollars but critical for long-term growth.
At the same time, not every company will need a fully equipped lab. The decision depends on testing volumes, regulatory requirements, and available resources. For those with frequent testing demands, the return on investment typically comes within a few years, supported by ongoing savings and higher efficiency. For others, outsourcing or a mixed model may remain the practical choice.
In the end, the value of an in-house lab lies in more than savings. It becomes part of the company’s foundation for innovation and quality assurance, providing both flexibility and security in a competitive environment. With proper planning and the right partners, what begins as an investment in equipment grows into a strategic advantage for the entire business.