
Thinking of building your own materials testing lab from scratch? Or maybe you're looking to upgrade your equipment for material tests? Whether it’s a new tensile testing machine for your QA or QC department, or a complete system for performing strength and durability tests — the decision starts long before the first sample is loaded.
Buying a machine for tensile tests often feels like the final step. You choose the right model, place the order, wait for delivery — and expect everything to run smoothly right out of the box. But in real life, it rarely works that way.
A machine is just hardware. It can fail unexpectedly. It might need fine-tuning. Your team may run into questions with the software. You’ll need support. And spare parts. And calibration documents. And sometimes — a fast answer from someone who knows what they're doing.
That’s why the company behind the machine matters more than the machine itself. The right tensile testing equipment supplier becomes your go-to resource. For answers. For training. For updates and fixes. They help you keep testing on schedule — with fewer surprises.
But not every supplier is built the same. And for many first-time buyers in materials testing, it’s hard to know what makes one provider more reliable than another. In this article, we break it down — clearly, directly, and without fluff.
Key Qualities of a Reliable Tensile Testing Equipment Supplier
Choosing the right tensile testing equipment supplier is about more than getting a good machine. It’s about building a relationship that keeps your lab running smoothly — from day one and years ahead. While different suppliers may offer similar equipment, the quality of support, documentation, and service can vary widely.
So how do you know which supplier you can trust?
There are several clear indicators that show whether a company is ready to support your team, your goals, and your daily operations. If a supplier consistently meets these key points, you’ll know that you're in good hands — not just during the sale, but long after the machine is delivered.
By focusing on these essential qualities, you protect your lab from unnecessary downtime, missed deadlines, or gaps in compliance. You also gain confidence that your tensile testing machines, software, and accessories will stay reliable — with support available when you need it most.
Equipment Built to Standards and Safety Compliance
A reliable tensile testing equipment supplier doesn’t just sell machines — they deliver systems designed to meet the requirements of your industry. This starts with compliance. All equipment must support the latest versions of relevant ASTM, ISO, DIN, or other international standards.
Look for machines that are engineered for structural integrity and safety. That includes features like overload protection, emergency stops, safety shields, and locking mechanisms — especially important for tensile testing machines that operate under high loads.
Suppliers who know the industry understand that test failure isn’t always about the material — sometimes, it’s the equipment. A strong partner provides equipment that minimizes risk, reduces user error, and delivers consistent results across test cycles.
Good suppliers also help labs match the right machine with the right test standards — whether you’re working with plastics, metals, composites, or specialized materials. Their goal is not just to deliver a machine, but to make sure it performs correctly in your environment from day one.
Certified Calibration and Full Documentation
Without proper calibration, even the most advanced machine becomes a liability. A trusted supplier delivers each unit with certified calibration tied to recognized national or international standards. This means your system is test-ready as soon as it's installed — no need for urgent third-party adjustments.
Good documentation is just as important. This includes calibration certificates, technical drawings, software manuals, and test setup guides. Reliable suppliers organize this information clearly, with each file matched to the machine’s serial number. This makes future service, audits, or standard updates much easier to manage.
A reliable supplier can also help you calibrate your tensile testing machine to the exact standard you need — whether it's ASTM D638 for plastics, ASTM E8 for metals, or something more niche. If required, they may also guide you through steps toward laboratory accreditation, such as ISO/IEC 17025. This kind of accreditation can strengthen your credibility with customers, improve internal quality control, and unlock new opportunities with regulated industries.
Instead of handing you a machine and walking away, a good partner provides traceable, review-ready proof that every system is built and delivered with precision — and is ready for real-world testing from the start.
Robust Warranty and Clear Responsibility
A good tensile testing equipment supplier doesn't disappear after the sale. They stay connected — through warranty, service, and responsibility. A clear warranty policy protects your lab from unexpected costs and shows that the supplier stands behind their equipment.
Look for suppliers that offer written warranty terms covering mechanical, electrical, and software components. You should know what’s covered, for how long, and what happens if something goes wrong. If the warranty is vague, limited, or hard to access — that’s a red flag.
A reliable supplier will also have a defined service process. If your machine stops mid-test or shows a calibration error, you should know exactly who to contact, how to reach them, and what response time to expect. This clarity reduces downtime and helps you stay on schedule.
Some suppliers go further by offering warranty extensions, remote diagnostics, and service packages with regular checkups. In regulated industries — where test traceability matters — this kind of support helps you maintain system integrity year-round.
In short, a supplier who takes responsibility for what they deliver is a supplier you can trust.
Pre- and Post-Sale Technical Support and Training
Buying a tensile testing machine is one step. Making it work the right way — every day — is another. That’s where technical support matters.
A trusted supplier guides you through the selection process. They don’t push one-size-fits-all solutions. Instead, they ask the right questions: What material are you testing? Which standard applies? What size samples are typical? Based on your answers, they help you choose equipment that fits your needs — and avoid mismatches that cost time and money.
After the purchase, post-sale support becomes critical. Reliable suppliers provide installation help, user training, and startup assistance. They walk your team through the software, the grips, the fixtures, and the test setup — so you're not stuck reading PDFs the night before an audit.
When problems arise — a software setting, a broken clamp, an unclear output — you want someone who will respond quickly. Good suppliers offer remote support via email, phone, or video call. Some also provide refresher training for new lab staff or custom help for advanced testing scenarios.
A supplier that stays with you after the sale builds trust — and helps your team test with confidence.
Availability of Spare Parts and Consumables
Even the best equipment needs replacement parts over time. Jaws wear out. Grips loosen. Load cells degrade. A reliable supplier knows this — and plans for it.
When choosing a tensile testing equipment supplier, ask what parts and consumables they keep in stock. That includes grips, fixtures, extensometer clips, indenter tips, backup boards, drive components, and testing accessories. The more specific your equipment, the more important this becomes.
Delays happen when spare parts are unavailable or must be ordered overseas. A strong supplier either stocks critical items locally or provides rapid access through their internal network. This reduces downtime and avoids rushed workarounds that could affect your test results.
Maintenance support matters too. A trustworthy supplier offers help with routine service tasks — like lubrication, belt tensioning, or load cell inspection — and may provide preventive maintenance programs to keep your machine running smoothly.
In short, a good supplier doesn’t just sell you a machine. They help you keep it running, test after test, year after year.
Software Usability and Data Integration
Modern tensile testing is more than just mechanical force — it’s digital. That’s why software matters.
A reliable supplier offers software that’s easy to navigate but powerful enough to meet your lab’s needs. You should be able to create tests, adjust settings, view live data, and export results without needing a manual every time.
Look for features like:
- Preloaded test methods (ASTM E8, D638, ISO 527, etc.)
- Real-time graphing (stress-strain curves)
- Custom result calculations
- Export to Excel or LIMS
- Unit conversion (metric/imperial)
Good software also adapts to your workflow. Whether you need single-sample testing or batch runs, it should save you time, not add complexity. Some suppliers provide remote updates, bug fixes, and technical walkthroughs to keep things running smoothly.
If your team is new to the system, proper software training helps reduce mistakes and shortens the learning curve. A reliable supplier won’t just give you software — they’ll show you how to use it effectively.
When software is intuitive and support is close, your lab works faster, cleaner, and with fewer errors.
Transparent Pricing and Fair Value
Reliable suppliers don’t just quote numbers — they explain what those numbers mean. You should know exactly what you’re paying for and what’s included in the price.
Good suppliers are upfront about everything: machine specs, accessories, software licenses, shipping, installation, training, and ongoing service. If there are extra costs — for calibration, upgrades, or spare parts — those should be clear from the start.
Avoid suppliers who give vague estimates or avoid answering cost-related questions. That often leads to surprise fees later — and frustration for your team.
It’s also important to think long-term. A cheaper machine that needs constant service or uses expensive consumables may cost more over time. A reliable supplier helps you evaluate the total cost of ownership, not just the upfront price.
Real value comes from quality, transparency, and long-term usability — not just a low number on a quote.
Proven Reputation and Industry Trust
In materials testing, trust is everything. A supplier may promise great service, but reputation shows whether they deliver.
Look for companies that can back up their claims. They should have testimonials, case studies, or references from real labs. Bonus if those labs work in your industry or test similar materials. Don’t be afraid to ask — serious suppliers are proud of their track record.
You can also check how long they’ve been in business, where their equipment is used, and what kind of support they provide after the sale. A solid supplier invests in their clients — not just in sales, but in support, updates, and communication.
Avoid companies that can’t tell you who their customers are or how their machines are performing. That lack of visibility is often a warning sign.
A trustworthy supplier has earned their place — through quality, reliability, and consistency.

Common Pitfalls When Choosing the Wrong Supplier
Thinking of cutting costs by buying from the cheapest supplier or going through unofficial channels? That choice can end up costing more — in time, money, and credibility. Many labs, especially those just starting out, fall into the same traps when selecting a tensile testing equipment supplier.
Here are the most common pitfalls to avoid:
- Unknown Equipment Condition: Buying from unknown or unauthorized sellers can lead to machines with hidden wear, internal damage, or missing components. Even when advertised as “refurbished,” some units haven’t been properly restored — making them unsafe or unusable.
- Missing Calibration or Documentation: Without certified calibration documents tied to national or international standards, your results may be rejected by auditors. Machines with no traceable calibration history often fail compliance checks — wasting time and putting test data at risk.
- No After-Sales Support: Some sellers vanish after the sale. No contact, no technical support, and no help when things go wrong. This is especially risky when issues arise during installation, calibration, or testing — moments when expert help is essential.
- Lack of Spare Parts or Consumables: Cheap suppliers rarely provide long-term support. Need a replacement load cell, grip insert, or software update? You may discover these aren’t available — or must be sourced internationally at high cost and delay.
- Hidden Costs and Delays: That “affordable” quote might leave out key expenses like installation, training, compliance verification, or required accessories. One real-world case involved a lab that bought a used UTM online, only to find rust damage, mismatched grips, missing documentation, and expired software. In the end, they spent more fixing the machine than they would’ve paid for a new one from a reliable source.
Reliable testing starts with reliable sourcing. These pitfalls show why choosing the right supplier matters — not just on Day One, but every day your lab is running.
What Makes TensileMill CNC a Trusted Tensile Testing Equipment Supplier
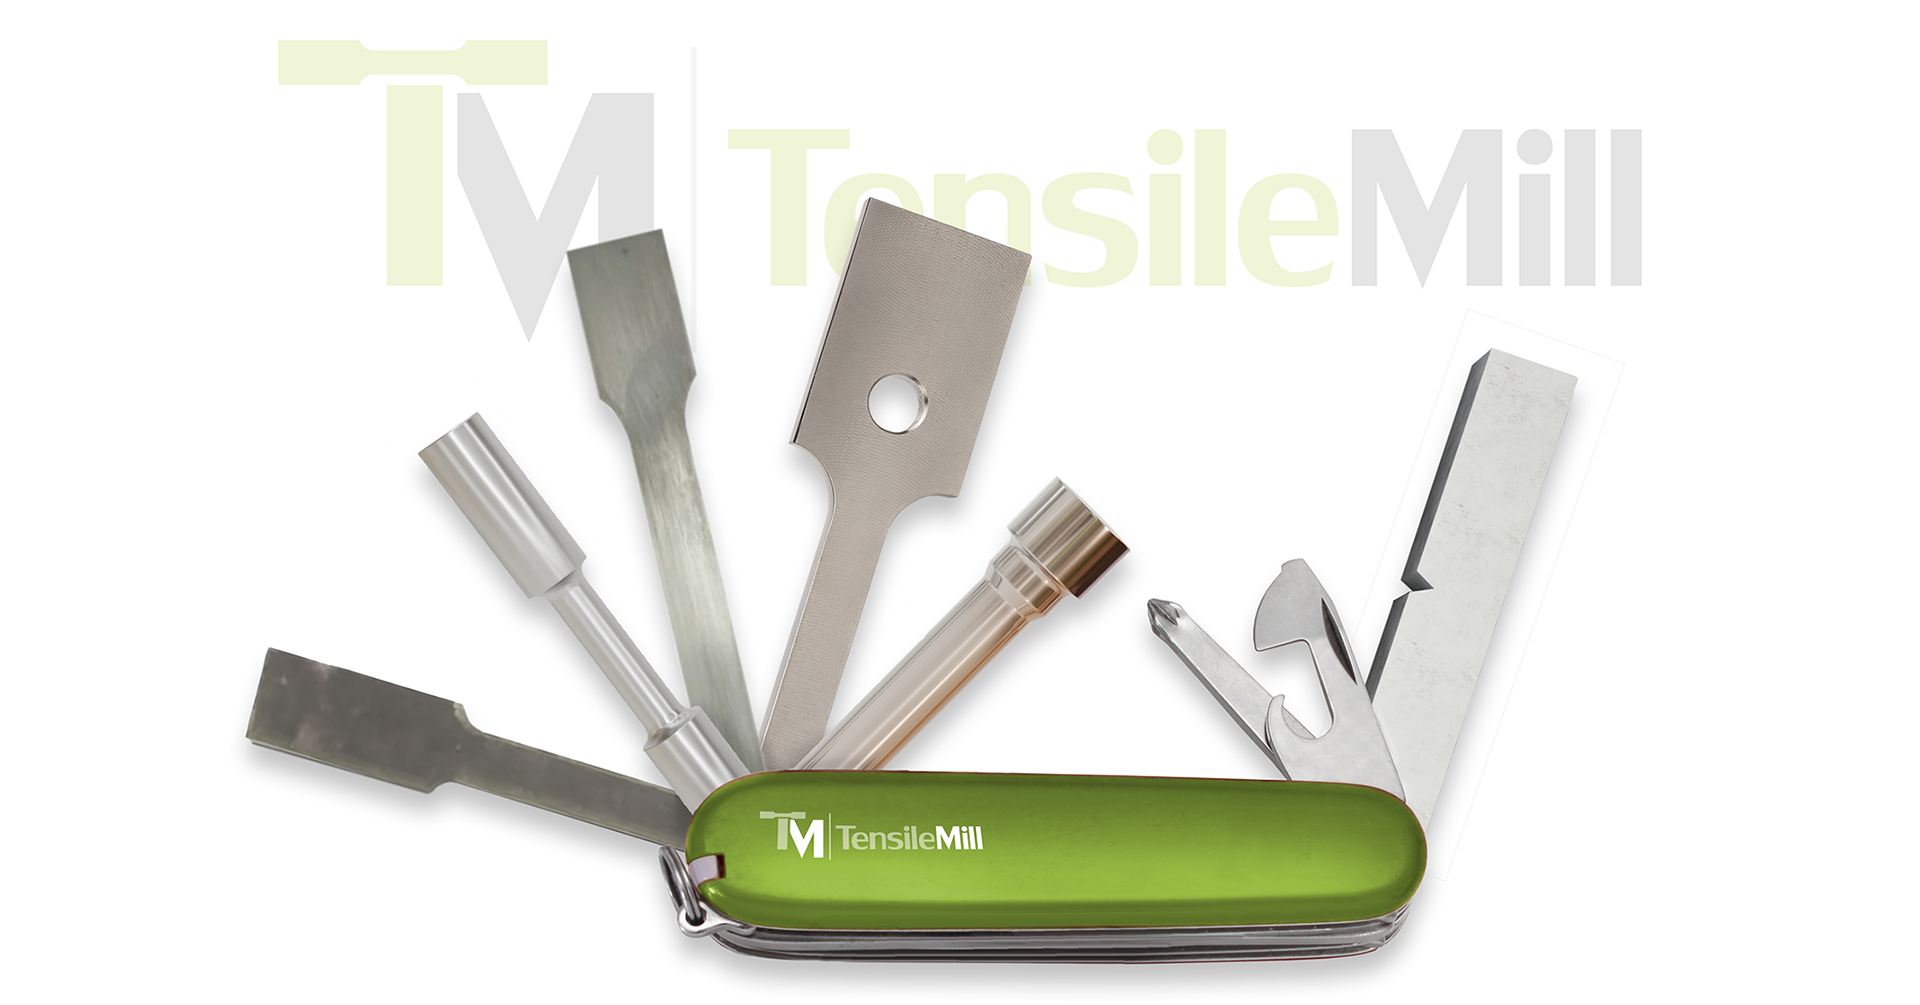
As a long-standing supplier in the tensile testing equipment industry, TensileMill CNC has spent years refining what reliability truly means. With thousands of successful installations worldwide and deep partnerships across various sectors, we’ve built a reputation that aligns with every key point covered above — from calibration support to spare parts availability and lasting customer service. Here's how we deliver on those expectations.
Certified Equipment, Ready from the Start
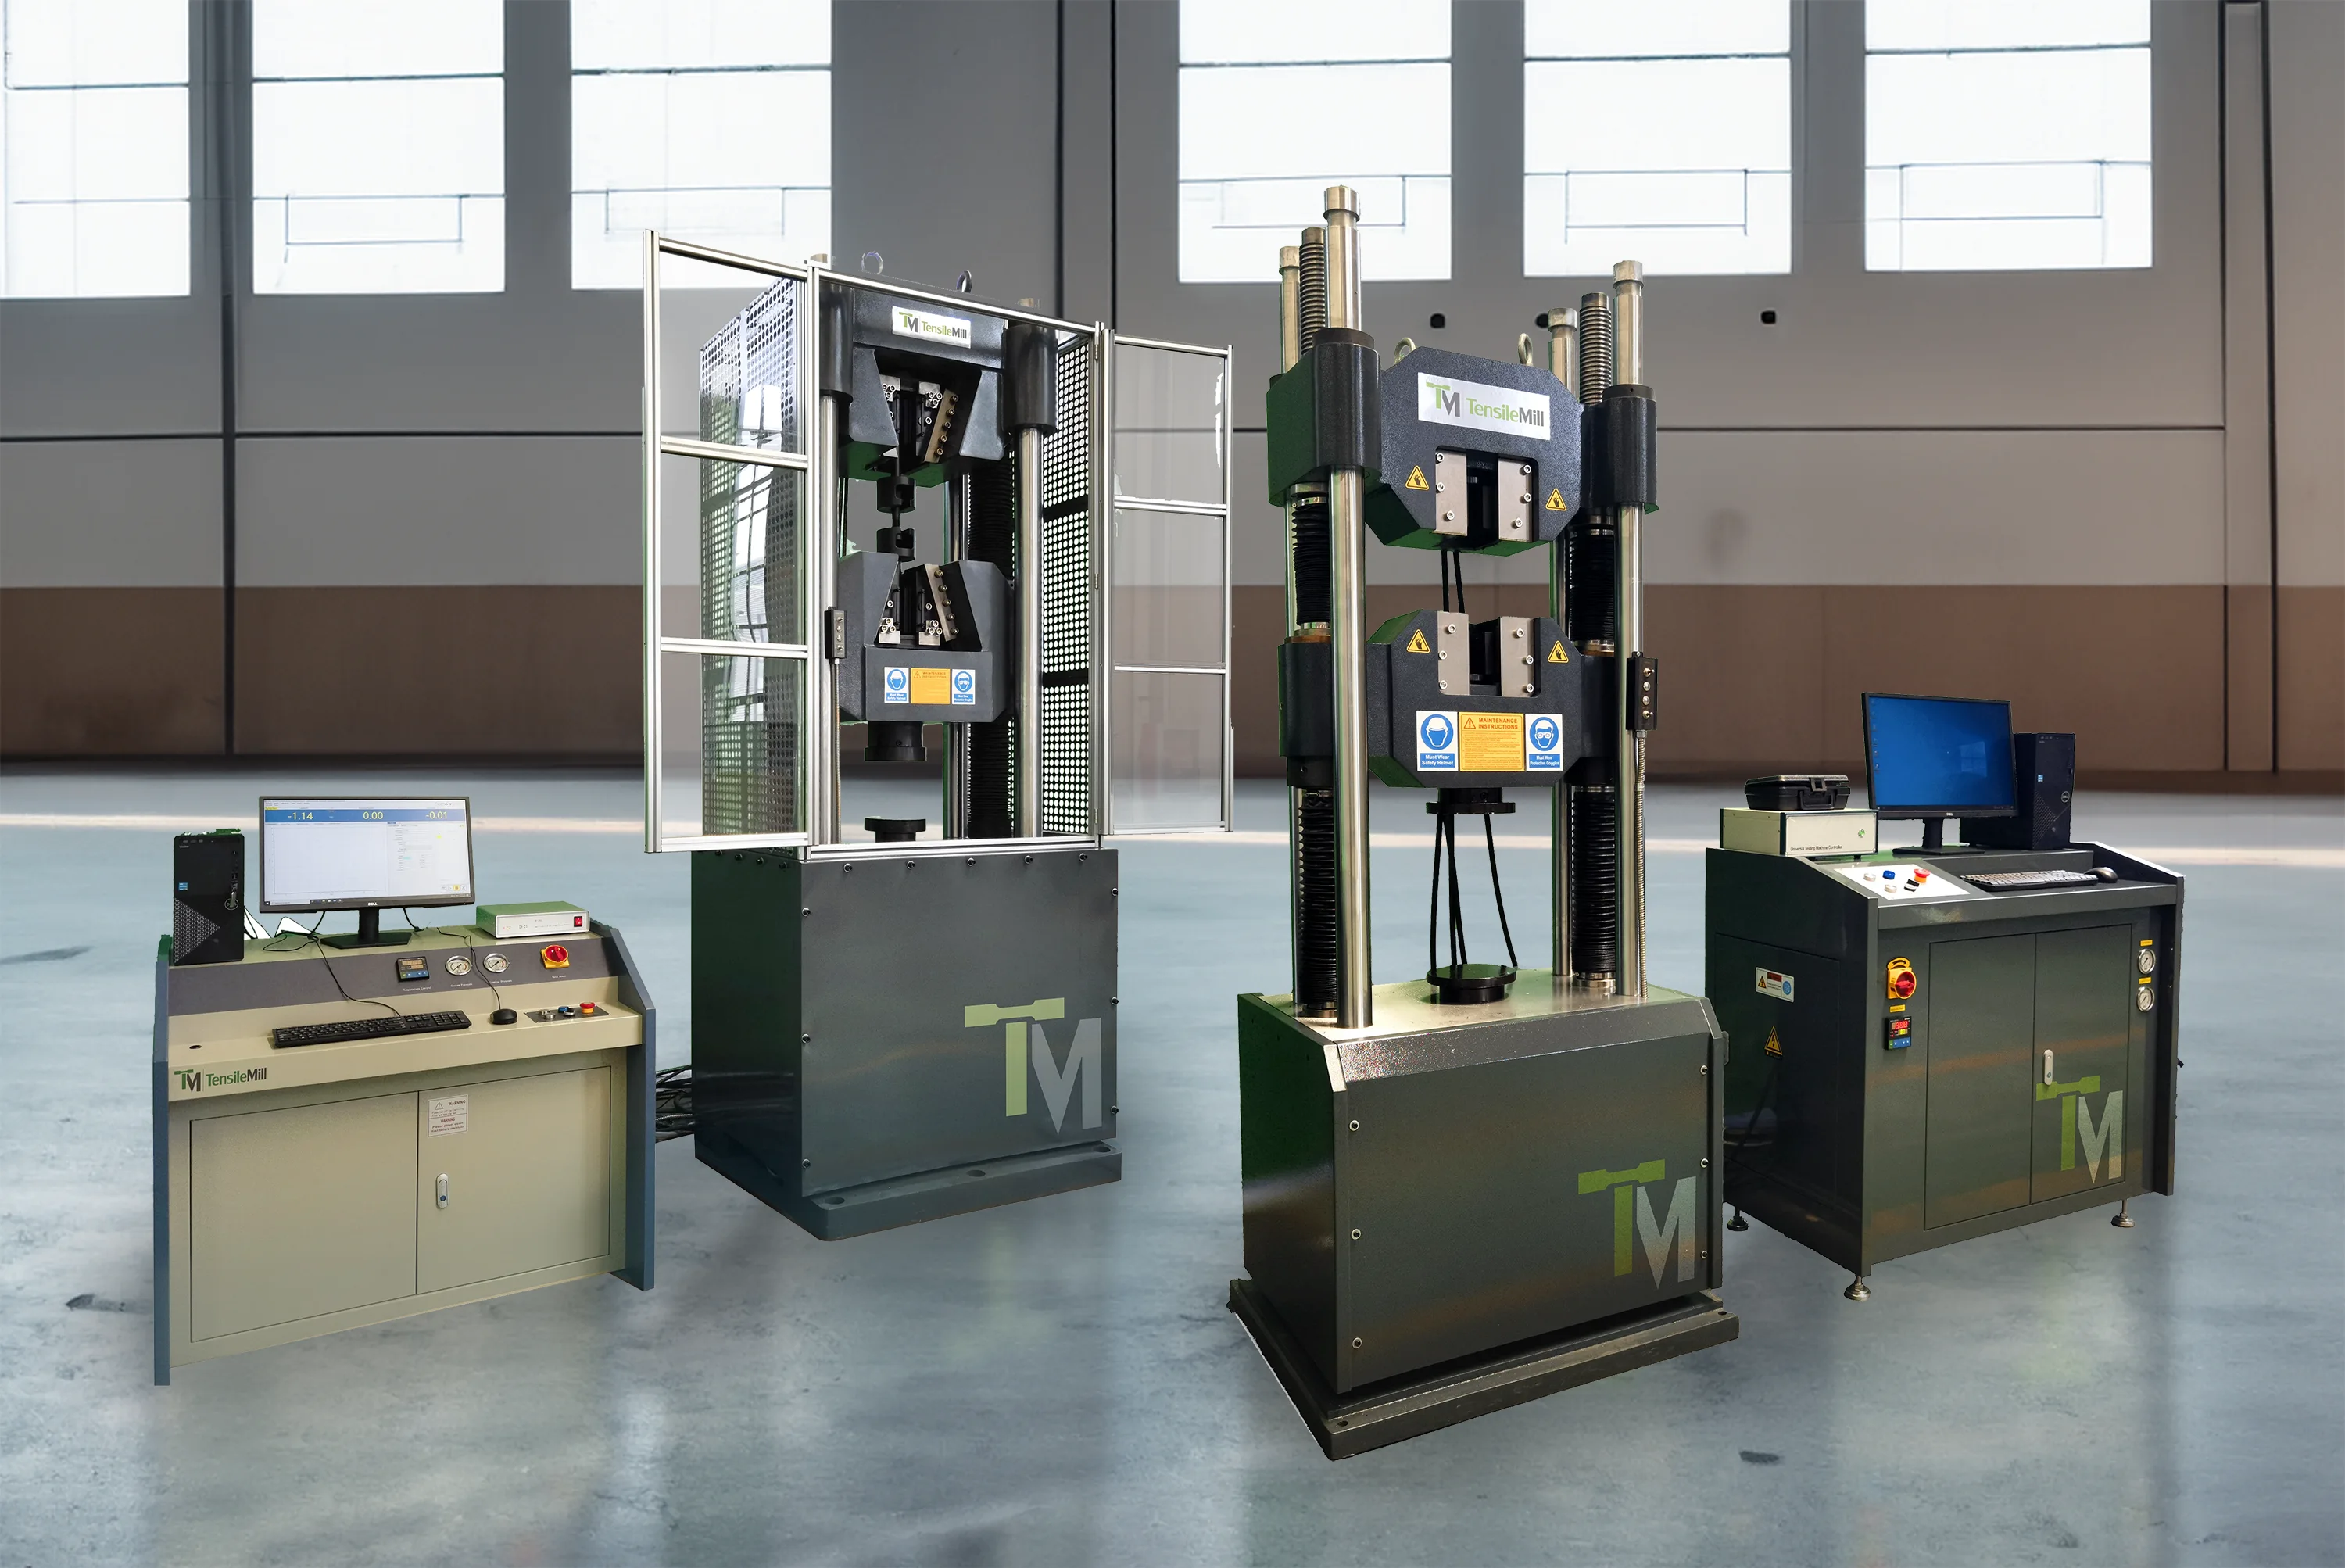
All TensileMill CNC systems are manufactured to meet global standards such as ASTM, ISO, and DIN. Every machine arrives with certified calibration and documentation that supports compliance with ISO 17025, NADCAP, and more. Whether you’re working with ASTM E8 tensile testing, E4 force verification, or ISO 6892 protocols, our team supports you from the start. We also collaborate with ISO 17025-accredited partners to help labs meet accreditation goals quickly and confidently.
Consumables, Spare Parts, and Ongoing Support
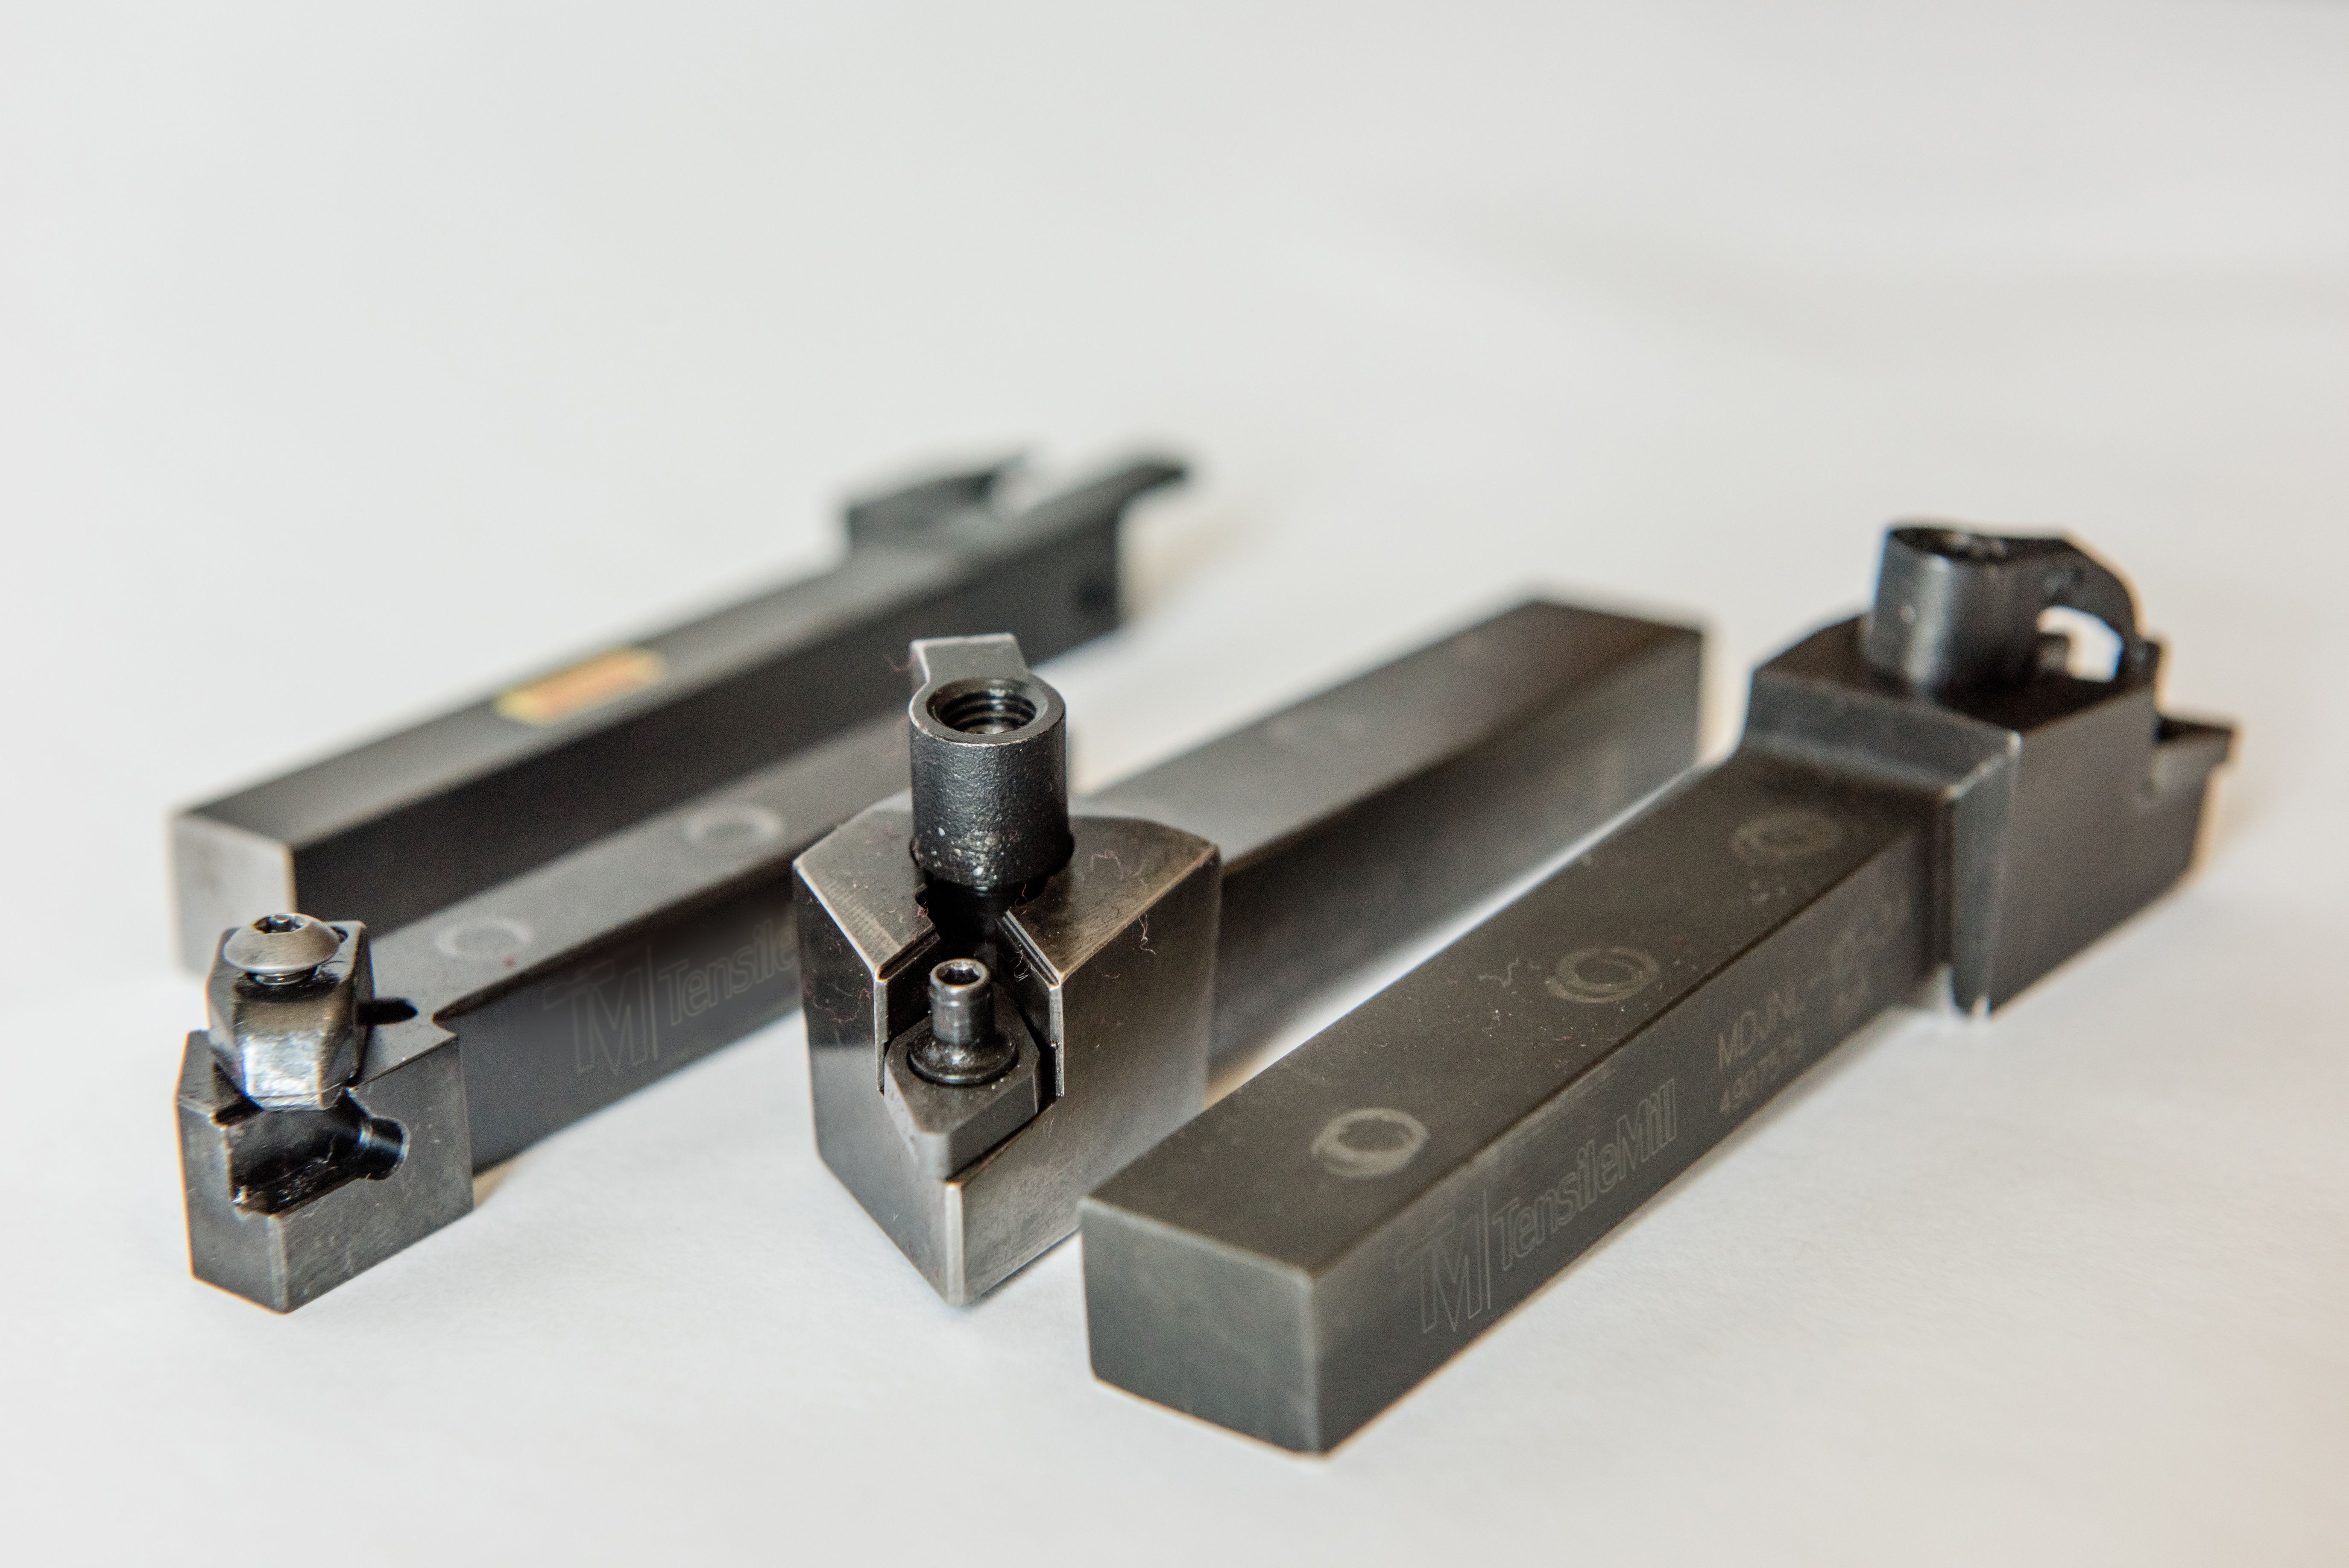
We maintain a ready inventory of spare parts — spindle motors, control boards, inserts, fixtures, and more — to minimize downtime. Our consumables are designed specifically for tensile sample preparation, from soft aluminum to hardened Inconel. Need a non-standard fixture? Custom manufacturing is available with short lead times. Our technical team is always available to assist with part replacement, setup, and long-term maintenance planning.
Trusted by Thousands of Facilities Worldwide
TensileMill CNC supports over 500,000 specimen tests annually across more than 8,700 applications and production environments — from aerospace to research labs. These include niche sectors, academic programs, government projects, and precision manufacturing lines. What sets us apart is our commitment to every client: hands-on consultation, responsive training, transparent pricing, and scalable solutions tailored to your quality control goals.
Our Clients
Finding the Right Fit for Your Testing Needs
Choosing a tensile testing equipment supplier is more than a purchase — it’s a long-term decision that shapes the reliability, accuracy, and efficiency of your entire lab. From initial installation to yearly calibration and daily testing, the strength of your supplier relationship often determines the strength of your results.
Throughout this article, we’ve outlined what separates a dependable supplier from the rest — clear calibration, full documentation, real support, spare parts access, and transparent pricing. We’ve also covered the common issues labs face when these elements are missing — including delays, compliance failures, and extra costs that could have been avoided.
Whether you’re upgrading your existing system or building a lab from the ground up, it pays to partner with a company that understands every stage of the process — and stays with you through it.
If you’re looking for a supplier that aligns with the qualities above, TensileMill CNC is ready to help. We offer a wide selection of tensile testing machines, sample preparation systems, and consumables — all supported by a team committed to real-world performance. We’re also happy to discuss your unique project requirements and deliver solutions tailored to your materials, standards, and workflows.
Contact us directly or request an online quote — and let’s explore how we can support your lab’s success.


